
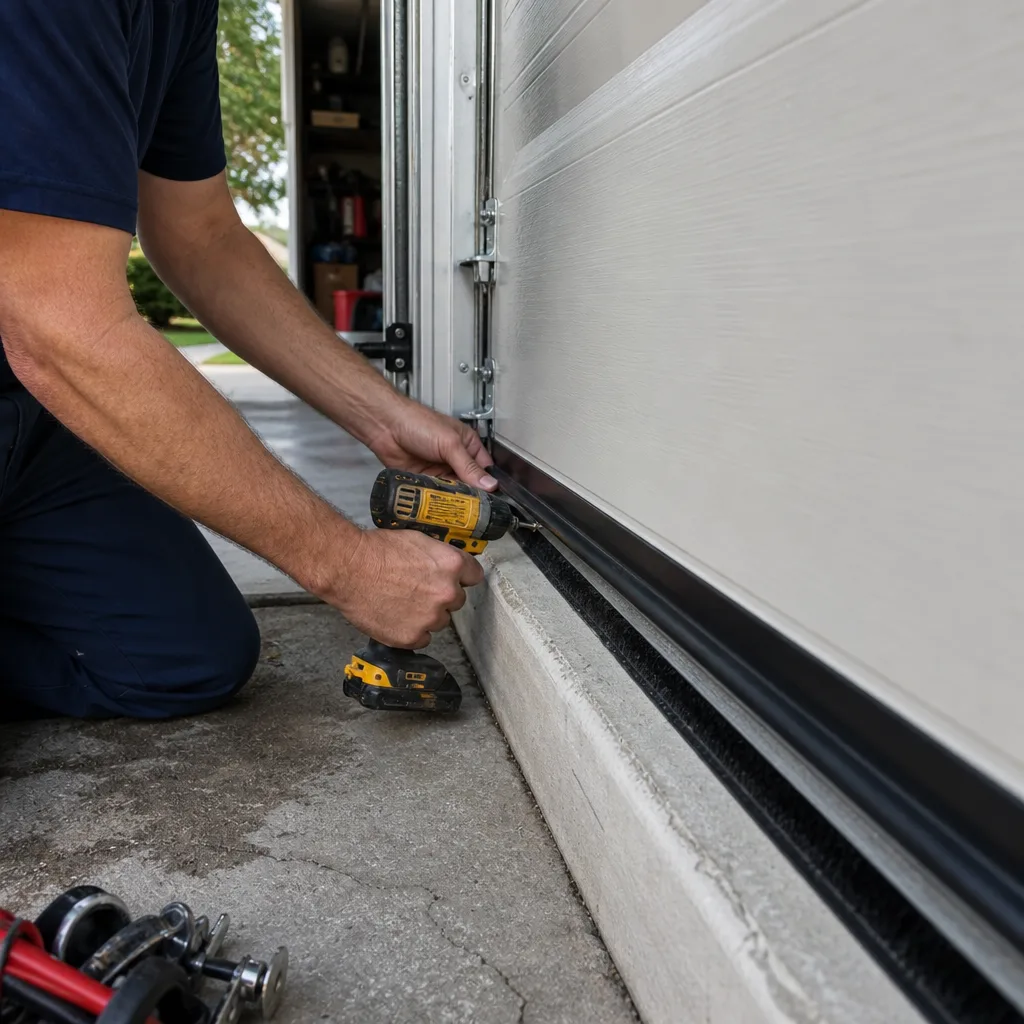
Last updated November 21, 2026
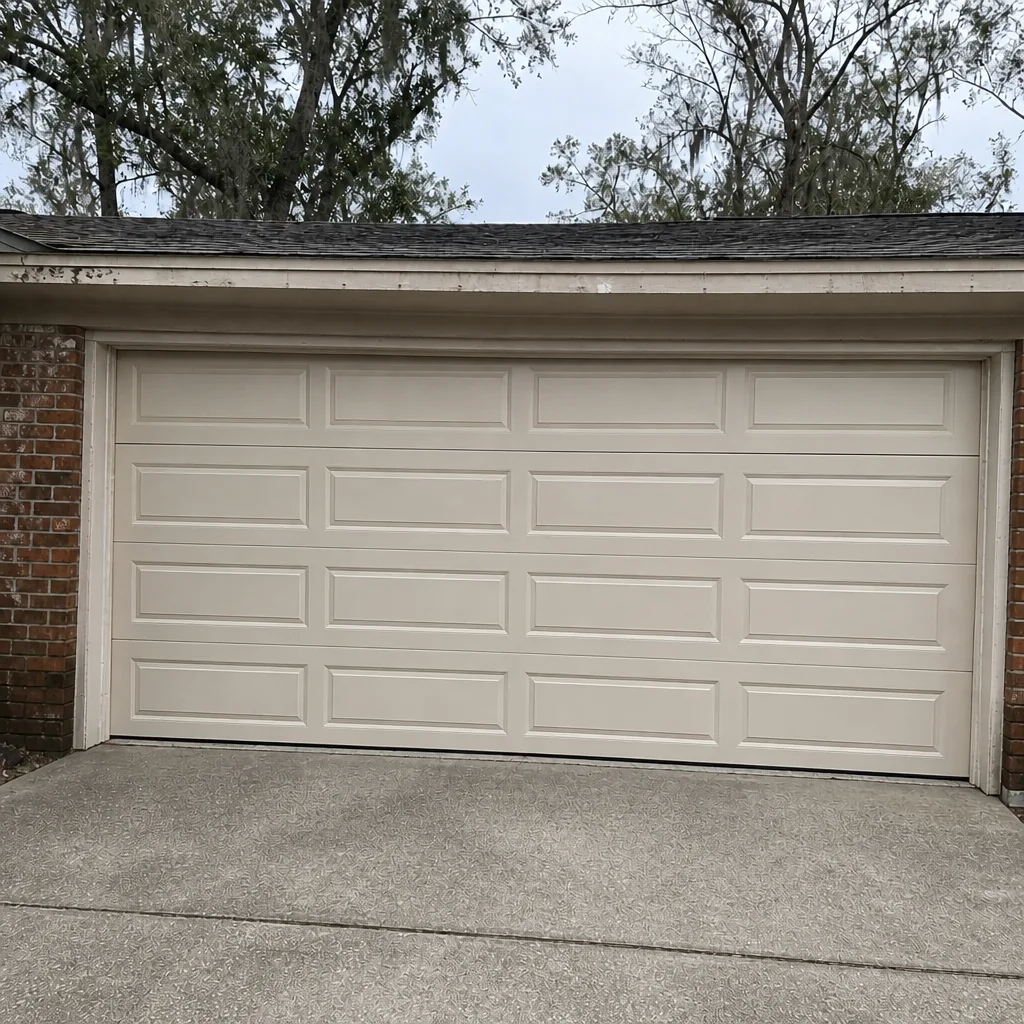
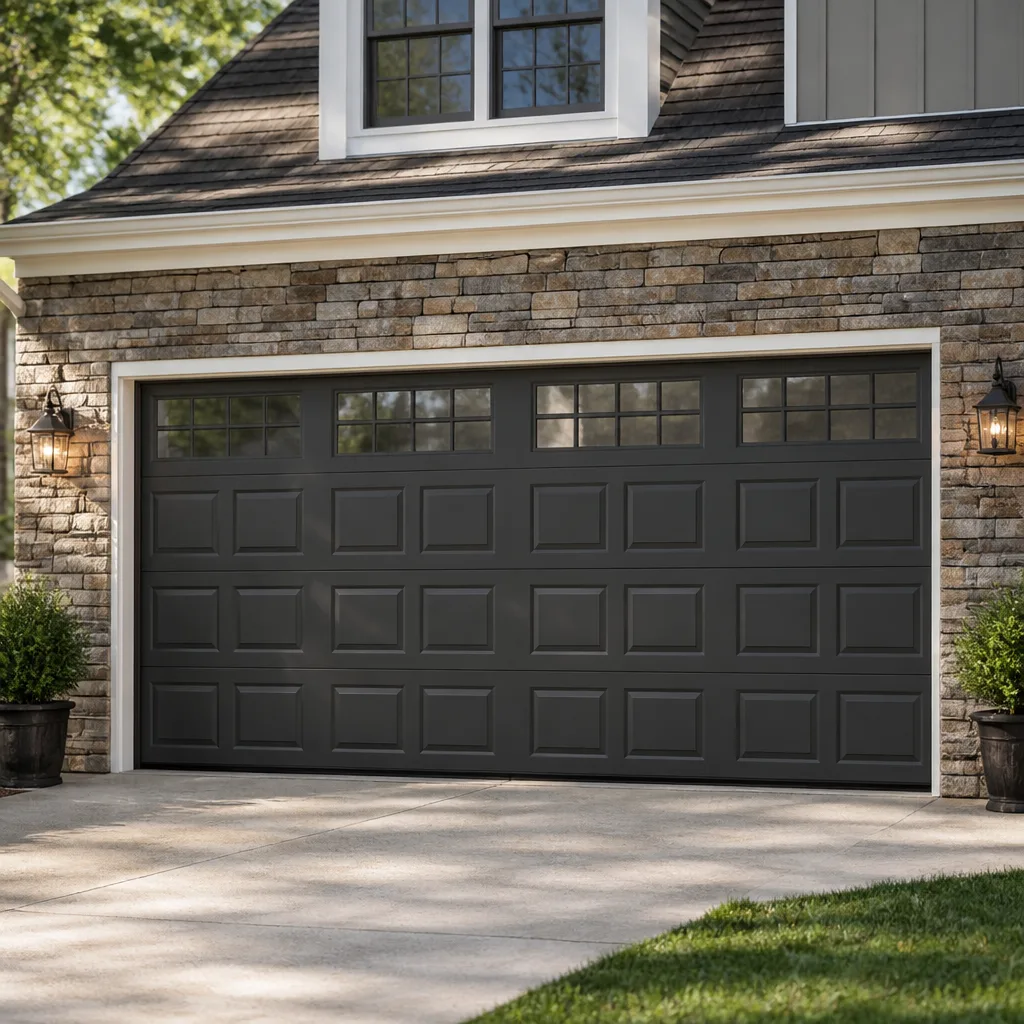 Raised-panel steel
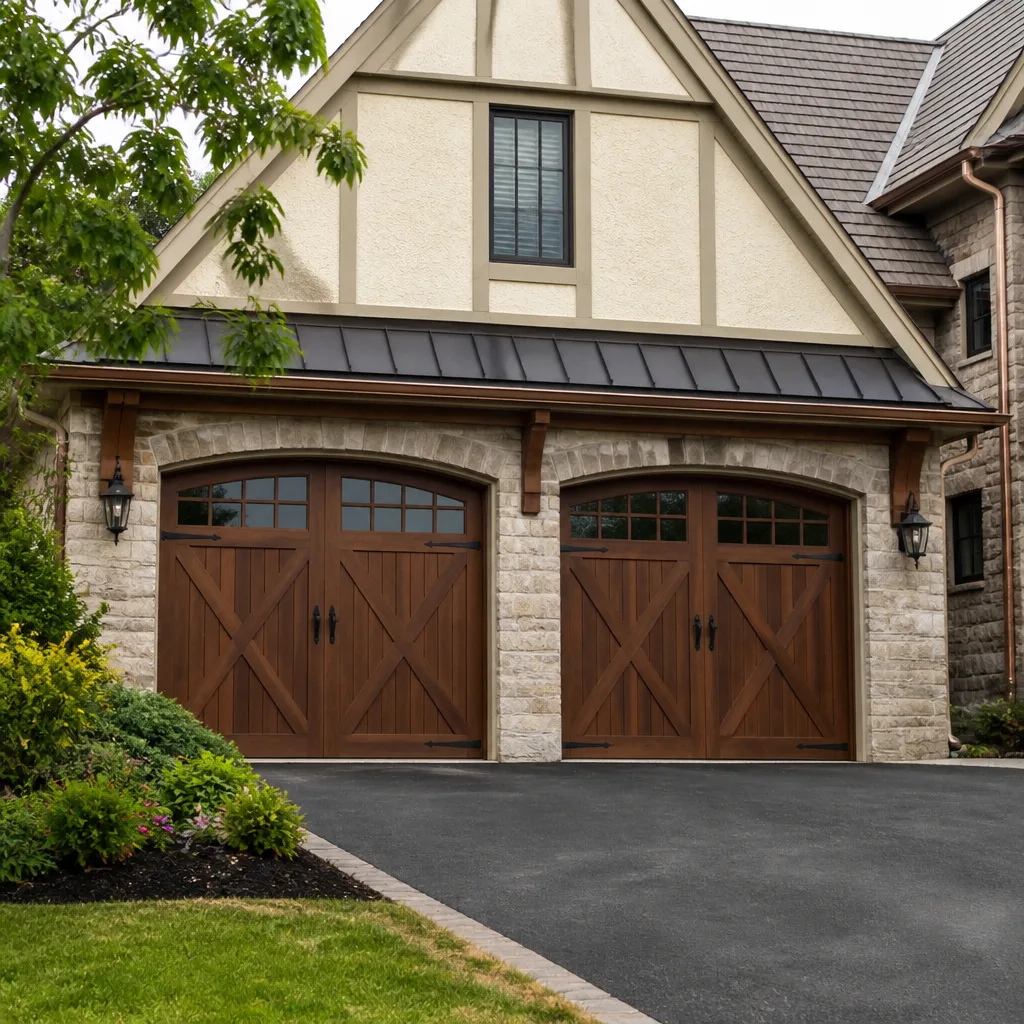 Carriage house
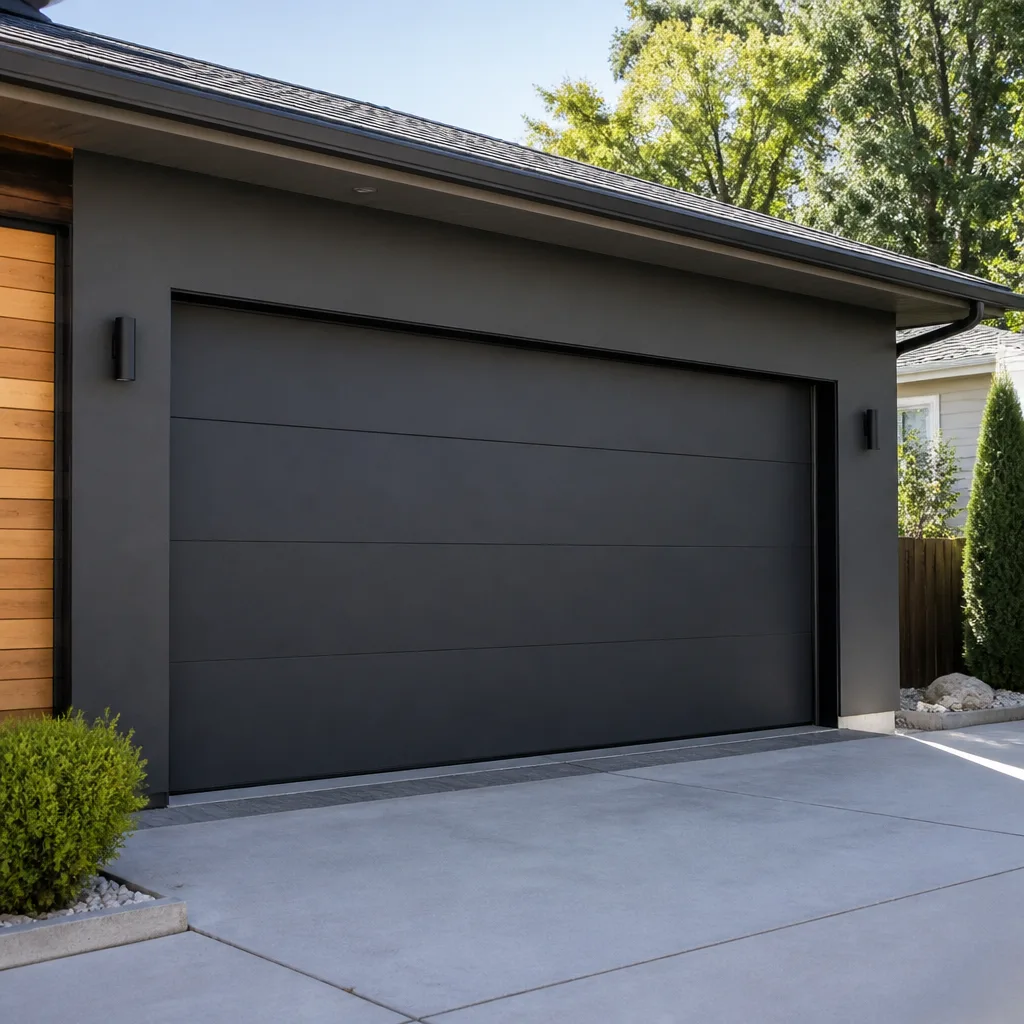 Modern flush
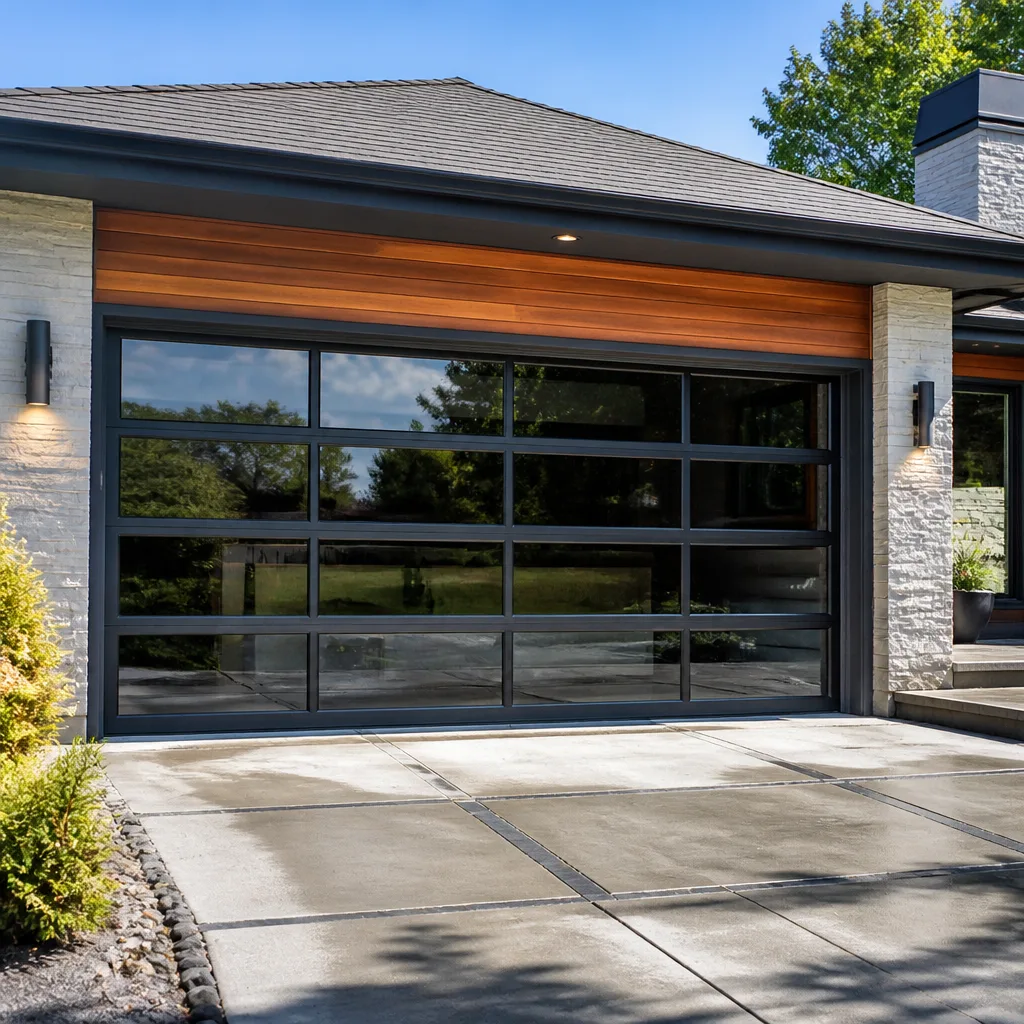 Full-view glass
 LiftMaster openers
 Chamberlain openers
Full 25-point door and opener safety check with every visit - springs, cables, rollers, tracks, and your LiftMaster or Chamberlain opener included
You get a price before we start. It does not change when the pro arrives.
Get your free estimateGarage Door Repair Troubleshooting in Tallahassee: Common Problems and How to Fix Them
The door that “just stopped working” almost never fails without warning. The warning is usually a sound the homeowner has been hearing for months and filing under background noise, a grinding that shows up in the same spot of the track or a pop that happens only on the way down. By the time the door quits, that sound has a name and a component attached to it. This guide maps symptoms to root causes so you can tell whether you’re holding a screwdriver or a phone, and we’ll walk through the specific ways Tallahassee’s humid climate shapes which parts fail first.
Styles & brands we work with
- Raised-panel steel
- Carriage house
- Modern flush
- Full-view glass
- LiftMaster openers
- Chamberlain openers
Quick Answer
Most garage door failures in Tallahassee trace back to one of five mechanical categories: springs, cables, rollers and tracks, the opener’s drive system, or the safety sensors. A door that runs but won’t close is usually a sensor or travel-limit problem; a door that won’t lift at all is usually a spring or cable; and a door that jerks, scrapes or grinds is usually rollers, track alignment or a worn hinge. Springs and cables are the two categories you should never touch yourself. Everything else starts with three safe tests you can run in a few minutes.
Table of Contents
- Symptom-to-Cause: Reading the Noise Your Door Makes
- Why Tallahassee Humidity Changes What Fails First
- The Three Safe Tests to Run Before You Call Anyone
- Hard Stops vs. Soft Stops: Mechanical or Electrical?
- The Five Mechanical Categories Behind Almost Every Failure
- Which Fixes Are DIY-Safe and Which Ones Aren’t
- Opener Troubleshooting: Sensors, Boards, and Wi-Fi Systems
- What to Check as the Seasons Change in Tallahassee
- Common Mistakes to Avoid
- When to Call a Professional
- Frequently Asked Questions
- The Bottom Line
Symptom-to-Cause: Reading the Noise Your Door Makes
Sound is the most reliable diagnostic tool you have, and it’s free. Different components fail with distinctly different noises, and homeowners who can describe the sound accurately save themselves a lot of guessing. Here’s how we map the common ones.
- A grinding that repeats in the same spot of travel: almost always a roller that’s seized or a track that’s been bent slightly out of alignment. The door passes the bad spot, grinds, and moves on. Left alone, the roller flat-spots and the grinding spreads. This is typically a roller-and-track job, not a spring or opener job.
- A sharp pop or bang from above the door, followed by the door becoming very heavy: that’s a torsion spring breaking. The door may still move a foot or two before the opener strains and stops. Stop using the opener immediately.
- A scraping or metal-on-metal squeal along one side: a cable has jumped its drum or is rubbing the track. On sectional doors this can mean a cable that’s unspooled. This is a stop-and-call situation, not a lubricate-and-continue situation.
- A rhythmic clicking from the opener head: usually a worn drive gear or, on chain-drive units, a chain that’s stretched and slapping the rail. The door still works for a while, which is exactly why people ignore it.
- A low hum from the opener with no movement: the motor is running but the drive isn’t engaged. Could be a stripped gear, a broken torsion spring the opener can’t lift against, or a manual release that got pulled and never re-engaged.
Notice that none of these require you to open a panel or climb a ladder. You can stand in the driveway, run the door once, and listen. Write down what you hear and where in the travel it happens. That single sentence will get you a faster, more accurate diagnosis than any amount of poking around.
If the sound points toward the opener’s electronics rather than the door’s mechanics, that’s a different diagnostic path, and our garage door opener repair page covers the electrical side in detail. When the door itself won’t move at all and you can’t tell why, start with the three tests in the next sections before assuming the worst.
Why Tallahassee Humidity Changes What Fails First
Tallahassee runs humid for most of the year, and that changes the failure pattern compared to dry-climate troubleshooting guides. In a dry climate, metal fatigue from thermal cycling is the dominant story: springs wear out, hinges loosen, and wood stays put. Here, moisture is the co-author. The result is a different set of “usual suspects” than a national troubleshooting chart would suggest.
Three things happen when a garage stays humid for months at a time:
- Steel corrodes before it fatigues. Hinges, rollers, bearings and the bottom brackets of the track rust in place. A rusted hinge doesn’t just squeak; it stops pivoting cleanly, which puts lateral stress on the door panel. Panels don’t crack from age. They crack from a hinge that stopped doing its job. Rollers with sealed bearings last far longer here than the open-bearing type, and we’ve seen plenty of doors where one bad roller on the bottom corner became three bent hinges over a single summer.
- Wood and composite panels swell. A wood or composite panel that absorbed moisture will bind against its neighbor at the section joint. The door may still open, but it drags and the opener works harder. This is a common cause of a door that “runs but sounds tired.” It’s also why premium wood-look panels, including Amarr and Wayne Dalton lines, are worth understanding before you replace them, since the construction of the panel determines how gracefully it handles humidity.
- Lubricant migrates out. High humidity lets the grease in a garage door’s hinges and rollers thin and drip onto the door and the floor. A door that was quiet three summers ago can be squeaking now with nothing actually broken. Re-lubricating every spring is the single lowest-cost maintenance step in Tallahassee, and it buys you years on hinges and rollers.
The practical takeaway: in Tallahassee, if a door is grinding or dragging, check the hardware before you suspect the spring. In a dry climate the opposite order makes sense. Here, the rust starts before the metal fatigue does.
If you’re deciding whether to repair or replace a panel that’s warped from humidity, that decision belongs with a free measure and a written price rather than a guess from the driveway. That’s what our garage door installation page covers when the panel is past saving.
The Three Safe Tests to Run Before You Call Anyone
Before you call anyone, run these three checks. They’re the same checks our technicians start with, and they’re completely safe if you follow one rule: keep your hands off the springs, cables, and anything at the very top or bottom corner of the door. Those three tests will tell you which of the five failure categories you’re likely in.
- The balance test. Pull the manual release cord (the red handle that hangs from the opener rail) to disconnect the door from the opener. Lift the door by hand to about waist height and let go. A door in proper balance will hold roughly in place or drift slowly. A door that drops fast or won’t stay up at all is telling you the springs are weak or broken. A door that won’t go up more than a foot or two when you lift firmly is telling you the same thing. Do not force it. If the door is very heavy, reattach the release and skip the rest of the moves.
- The travel limit check. With the door reattached to the opener, run it all the way up and all the way down. Watch where it stops. If it stops short of the ground, the close limit is set wrong. If it reverses immediately after touching the floor, or the opener keeps straining after the door hits the ground, the close limit is over-traveled. These are opener settings, correctable in a few minutes, and they don’t mean the door is failing.
- The manual release pull, done carefully. Before you pull that red handle, close the door completely and stand to one side of the door. Pull straight down. The door should not move. If it slams down, the springs or cables are compromised and reattaching the opener under load risks damage to the drive. When you re-engage, run the opener once with no one under the door to make sure the trolley reconnected properly.
Each test answers a specific question. The balance test asks “is the spring doing its job?” The travel limit check asks “is the opener set up right?” The release pull asks “is the door safe to move at all?” Run them in that order. If a test makes you nervous or the result seems wrong, don’t invent a next step. That’s the point at which a specialist should see the door in person.
Hard Stops vs. Soft Stops: Mechanical or Electrical?
Most homeowners can’t tell whether the problem is in the door or in the opener, and the distinction determines which phone call you’re making. The easiest diagnostic is to watch how the door stops when it fails. A hard stop is abrupt and physical. A soft stop is gentle and electronic. They point to completely different components.
A hard stop looks like this: the door moves a little, then jerks to a halt. You hear the motor run for a second after the door stops, then a click as the opener trips its internal safety. The door feels locked in place. This is mechanical. Spring, cable, roller, track, or a hinge that’s bound. The motor is fine; it’s the load that’s too heavy.
A soft stop looks like this: the door reaches a point in its travel and reverses without a fight. It goes up a foot or two and smoothly comes back down. Or you press the wall button and nothing happens at all, no motor sound, and a little LED blinks on the opener head. This is electrical. Safety sensor, wiring, logic board, or a travel limit set just wrong enough that the opener thinks it’s hitting an obstruction.
The safety sensor is the most common soft-stop culprit. If the two sensor eyes on either side of the door are misaligned by a fraction of an inch, dirty, or blocked by a leaning broom, the opener will refuse to close the door. It’ll usually flash the opener’s LED or the wall console light to tell you. Wiping the sensor lenses with a dry cloth and checking that both LEDs are solid is safe and takes thirty seconds.
If a soft stop clears up when you hold the wall button down, that’s a strong sign the safety reverse system is triggering. If it doesn’t clear, the fault is in the opener’s logic, and a technician needs to test it rather than guess. Modern openers, including LiftMaster and Chamberlain systems with MyQ and Genie units with Aladdin Connect, add app-based diagnostics that make this easier, but the fundamental hard-stop/soft-stop distinction hasn’t changed. If the opener head is the problem, our team handles garage door repair across those brands every week, and we’ll tell you honestly whether the opener needs repair or replacement.
The Five Mechanical Categories Behind Almost Every Failure
Every garage door failure we see in Tallahassee lands in one of five categories. Knowing which one you’re in tells you the likely cost and the likely level of risk. Here they are, from most dangerous to least.
1. Springs
Springs do the heavy lifting. The opener only guides the door. When a spring breaks, the door becomes enormously heavy, and a torsion spring under tension is one of the few parts of a home that can injure an untrained person catastrophically. There is no DIY fix for a broken spring. Replacing a matched pair together (they wear at the same rate) is the standard, and the cost is roughly double a single spring. This is a professional-only category, full stop.
2. Cables
Cables lift and tension the door in tandem with the springs. A cable that’s jumped its drum or frayed at the end is under the same tension as the spring. If a cable snaps while a homeowner is standing near the door, the door can drop. This is the second professional-only category. A cable that looks slack or off its guide is a reason to stop using the door, not a reason to try to re-seat it.
3. Rollers and Tracks
Safe to inspect. Rollers wear flat, tracks get bent by a car bumper or a leaning ladder, and hinges rust. A door that’s dragging, grinding or binding usually has one bad roller pulling the door out of alignment. This category is repairable, and in many cases the fix is replacing one component, not the door.
4. The Opener’s Drive System
Gears, chains, belts and the trolley. A worn drive gear or a stretched chain makes the door sound like it’s grinding from above, even though the actual track is fine. Diagnosing a drive fault usually means listening at the opener head and testing the manual release.
5. The Opener’s Electronics
Logic boards, safety sensors, wiring, and the radio receiver or Wi-Fi module. This category involves no moving parts and no injury risk. A door that hums in place with a blinking light or won’t respond to any remote is likely in this category, and modern app-connected systems from LiftMaster, Chamberlain, Genie and Craftsman are the most common to need electronic repair.
The five categories form a decision tree. If the door is dangerous to move, it’s category one or two. If it moves but is heavy, test the balance (category one or two). If it moves and grinds, check rollers and tracks (category three). If it sounds wrong from the opener head only, suspect the drive (four) or the electronics (five). This map means you stop chasing the wrong fix, which is where most troubleshooting hours go.
Which Fixes Are DIY-Safe and Which Ones Aren’t
We’re specialists, not a handyman service, so we have a biased view. But the line between DIY-safe and not is not ambiguous. It’s drawn around one question: is the part under spring tension? Everything below that line is under enough stored energy to cause serious injury, and that’s why we recommend a trained professional for those repairs.
DIY-safe for most homeowners:
- Wiping the safety sensor lenses and checking that both LEDs are lit or aligned.
- Replacing the remote batteries and re-pairing a remote you already own.
- Clearing an obstruction from the door’s path and running the door once with no one underneath.
- Re-lubricating hinges, rollers and the track area with a proper garage door lubricant (not WD-40) as a maintenance step, keeping your hands off the springs and cables.
- Checking that the wall console is wired in and that the opener has power from the outlet.
- Resetting a tripped GFCI outlet the opener is plugged into.
Not DIY-safe, ever:
- Replacing a torsion or extension spring, or any step that involves loosening a spring’s tension.
- Re-seating, adjusting or replacing a lift cable or the drum it winds onto.
- Adjusting the bottom bracket or the torsion bar’s set screws.
- Straightening a door panel that’s come off its track while it’s still under tension.
If that second list feels short, it is. It’s short because the safe steps are genuinely simple, and the unsafe steps are genuinely dangerous. There’s no middle tier where a homeowner with a wrench competes with a technician on springs. If your troubleshooting lands you in the unsafe list, that’s not failure; that’s the entire purpose of the map. Call a specialist. We handle spring repair as its own dedicated service for exactly this reason: springs are the most dangerous part of your garage door, and we handle them so you don’t have to.
Opener Troubleshooting: Sensors, Boards, and Wi-Fi Systems
Opener problems are the most misdiagnosed category we see. A homeowner will replace the whole opener when the actual problem was a sensor a foot away from the wall, or re-pair a remote endlessly when the receiver board has failed. Before you replace anything, work through the electronics in order.
- Power. Confirm the opener is receiving power from the outlet. A wall outlet feeding the opener can trip a GFCI, especially in a humid garage. If the opener head’s LED is dead, this is where to look first.
- Safety sensors. Look at the two small lenses near the floor on either side of the door. On most brands, a solid LED on each means they’re aligned and communicating; a blinking LED means they’re not. Wipe them clean, then check that nothing is blocking the invisible beam. If the door closes only when you hold the wall button, the sensors are almost certainly the fault.
- Travel limits and force settings. These are on the opener head, typically under a light lens cover. If the door closes but reverses immediately, the close limit is off; if it opens and won’t quite reach the top, the up limit is short. These settings get knocked out of adjustment over time, and they’re a common culprit for “it used to work and then just stopped.”
- The wall console and wiring. If the wall button works but the remote doesn’t, the remote or receiver is the fault. If the remote works but the wall button doesn’t, the console or its wiring is. Isolate the symptom before you replace the opener.
- The logic board. If the opener powers on, all sensors are solid, and no console or remote input gets a response, the logic board is a plausible cause. This is where a technician’s tester earns its keep, because replacing a board that wasn’t the problem is expensive and pointless.
Modern smart openers add one extra step. LiftMaster’s MyQ, Chamberlain’s app integration, Genie’s Aladdin Connect and the Craftsman connectivity line can all fail at the network level while the physical opener still works. If the door opens fine at the wall button but the app says the door is offline, the fault is Wi-Fi, not the motor. Reset the hub, re-check the router, and only then assume the opener is at fault. In our experience, half the “my smart opener is broken” calls we get are network problems a homeowner can clear in ten minutes. The other half are genuine board or receiver faults that need a technician.
What to Check as the Seasons Change in Tallahassee
Tallahassee doesn’t have a hard freeze to worry about, which means the seasonal check here is less about winter preparation and more about the long humid stretch that does the actual damage. Our advice is to check the door at the start of the warm season and again at the end.
- Spring: Re-lubricate hinges, rollers and the torsion system’s bearing plates (with a garage-door-rated lubricant, hands off the spring itself). Run the balance test. Check for rust on any hinge that’s newly discolored. A door that had a quiet winter and starts dragging now is usually a rusted hinge, not a failing spring.
- Summer: Watch for panels that swell at the joints and bind, and for the door that starts making a lower, heavier noise. That’s usually a humidity-driven mechanical issue, not the opener. Clean the sensor eyes; the beam can get obscured by dust and pollen during the growing season.
- Fall: Check the balance test again. Look for any cable that’s developed a visible fray. Test the safety sensors by placing a small object in the door’s path and confirming the door reverses. The reverse test is the one check that tells you whether the safety system is working at all.
- Before summer travel or extended vacancy: Make sure the manual release cord is intact and the door isn’t relying on a spring that’s already weak. A door that sits unused for a month will often fail on the first open, because the friction of a season’s rust finally binds a hinge.
DIY-safe visual inspection, once each season, will catch most of the failures that become emergency calls. The rest come down to running the balance test before anything feels wrong. If the balance test fails, stop using the door and let a specialist look at it. We’re the team you can call for garage door repair Tallahassee pros handle, and our technicians have up to 14 years of experience diagnosing exactly these seasonal patterns in this climate.
Common Mistakes to Avoid
- Greasing the springs. Spring steel gets no lubricant on the coil; the bearing plates and hinges do. Greasing the spring traps grit and accelerates wear.
- Replacing one spring instead of the matched pair. Both springs wear at the same rate. Putting a new one next to an old one means the old one is the next to fail, usually within a season. A matched pair replaced together is standard for a reason.
- Assuming the opener is the problem because it’s the part you can see. In most of the doors we see in Tallahassee, the opener is fine and the spring, cable or rollers are the actual fault. Replace the opener and you’ll still have the same symptom, plus a new one.
- Overriding a misaligned safety sensor by holding the wall button. It works, but it defeats the entire point of the safety reverse system. Fix the sensor alignment instead.
- Bending a track back with a hammer or a pry bar. A bent track is usually the result of a physical impact, and “straightening” it in place often makes the alignment worse. Replacing the affected section is cheaper than replacing what the door damages when it derails.
- Ignoring the noise until the door quits. Tallahassee’s humidity turns a rusty hinge into a cracked panel over a season. The grinding that bothers you is the one that gets a technician to fix one part instead of three.
- Calling a general handyman for a spring or cable. A spring is not a general repair. The training and tooling for it are not something most handypersons carry, and a wrong assumption about tension can hurt them or you. Call a garage door specialist.
When to Call a Professional
Call a professional immediately if the door is heavy after a loud pop, if a cable is visibly slack or frayed, or if the door’s travel path involves any panel that’s come off its track. Also call if your balance test fails, if the door only closes while you hold the wall button, or if you’ve replaced a remote and re-paired it without any change to the symptom. Those are all signals that the fault is inside a system that needs a trained eye. If you’re simply hearing a grinding and don’t know where to start, describing the sound to a technician on the phone usually narrows it down in a sentence. We answer 24/7. Fast dispatch from 7am to 7pm, Sunday through Friday.
Garage Door Repair Tallahassee Pros offers free estimates in Tallahassee: call (855) 789-6528. We work on the brand you already have, including Amarr, Wayne Dalton, Craftsman and Raynor systems, so you’re not pushed into a replacement you don’t need. Our technicians have up to 14 years of experience across the repair, opener and spring work involved in every door failure described on this page.
Frequently Asked Questions
Typical garage door repairs in Tallahassee run from about $150 for a simple hardware or sensor fix to $250-$400 for a single spring replacement, with a matched pair roughly double that. Opener repairs and logic board replacements generally fall between those two. The written estimate is the price, quoted and agreed before any work starts, so you won’t get an invoice bigger than the quote. Call (855) 789-6528 for an exact quote. Estimates are free.
Yes, same-day service is available for most repairs, and emergency response is a core part of what we do rather than an add-on. We answer 24/7, and dispatch runs from 7am to 7pm, Sunday through Friday. A call outside those hours is booked into the next opening. For a stuck door, have a description of the sound and whether the opener is running ready when you call.
No. We quote and agree the price with you before any work begins, and the written estimate is the price you pay. If we find that the diagnosis is different from what you described, we talk it through and re-quote before touching anything. There’s no scenario where an invoice arrives bigger than the number you agreed to.
The local professional we connect you with is licensed and insured as their state requires, and our technicians have up to 14 years of experience on spring, opener, cable and track repair. Garage door work is a specialty, and we only handle garage doors, not other home trades. You can ask to see credentials before work starts on your door.
A door that stops short of the floor is usually a travel-limit setting that’s drifted or a safety sensor that’s misaligned or blocked. Wipe the sensor lenses and check that both are lit before you assume the opener is failing. If the door closes only while you hold the wall button, the sensors are the culprit. Call (855) 789-6528 and we can walk you through a quick check or send a technician.
We work on the brand you already have, and our technicians service LiftMaster, Chamberlain, Genie, Clopay, Amarr, Wayne Dalton, Craftsman and Raynor. That covers the major openers and most of the door panels you’ll find in a Tallahassee home. If your system isn’t among those, tell us what you have and we’ll confirm before scheduling.
The Bottom Line
Every garage door failure you’re likely to face in Tallahassee fits one of five categories, and reading the symptom is the whole game. The sound tells you which component is failing. The hard-stop-versus-soft-stop test tells you whether the problem is in the door or the opener. The balance test tells you whether a spring is at fault, and the balance test, the travel limit check and the manual release pull are the only pre-call diagnostics a homeowner needs. Springs and cables are off-limits for anyone without professional training, full stop. Everything else is best handled by getting a specialist’s eyes on the door early, before a single rusty hinge becomes three cracked panels. If the door is making a noise you can’t place, stop using it and call.
Call (855) 789-6528 for a free estimate. We answer 24/7. Fast dispatch from 7am to 7pm, Sunday through Friday, and the written estimate sets the final price before any work starts.
Written by the team at Garage Door Repair Tallahassee Pros.
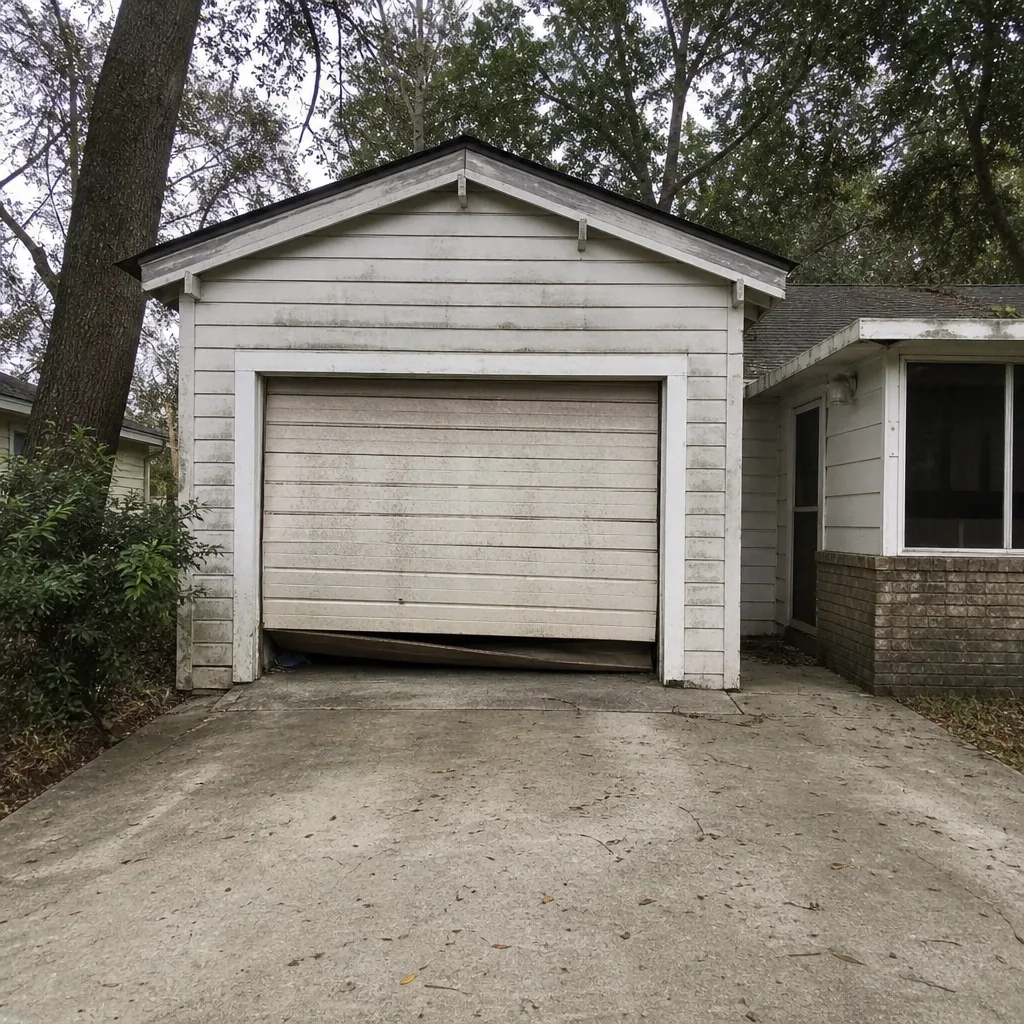
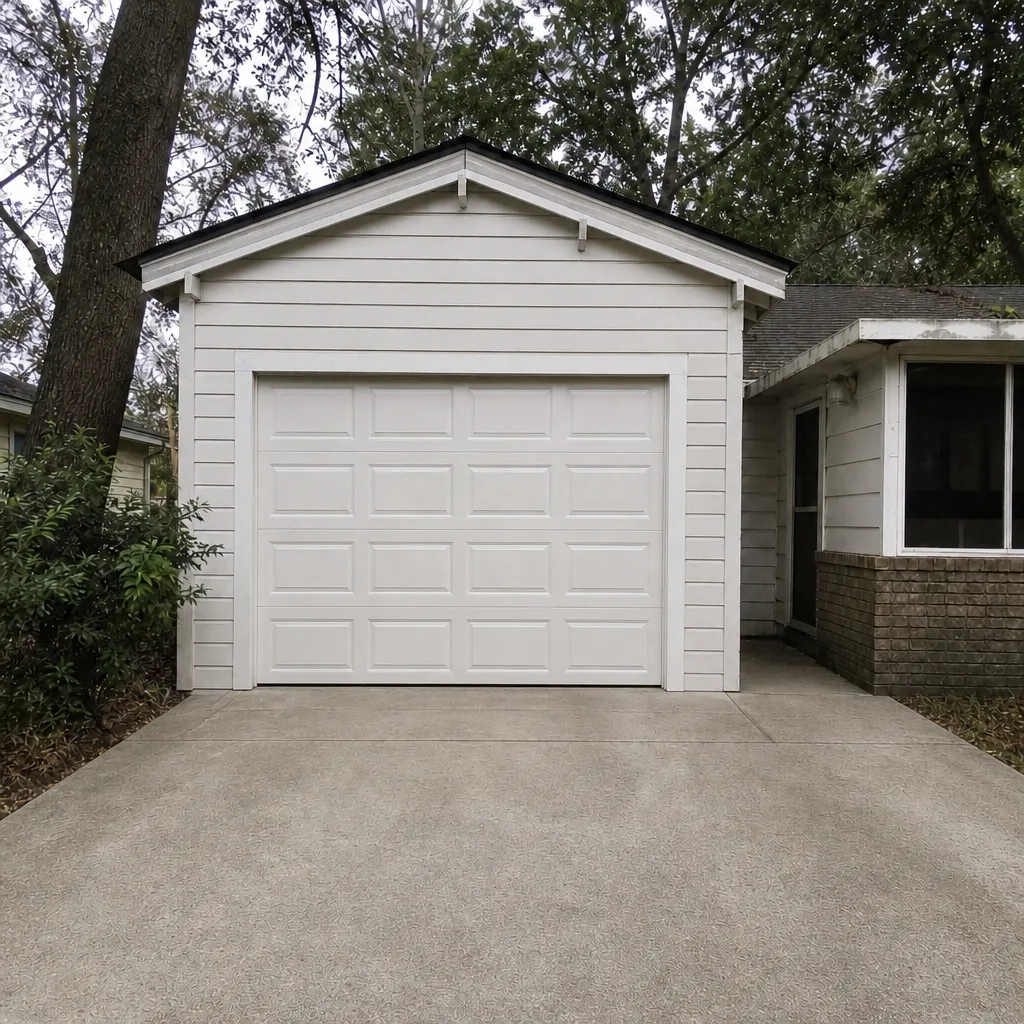
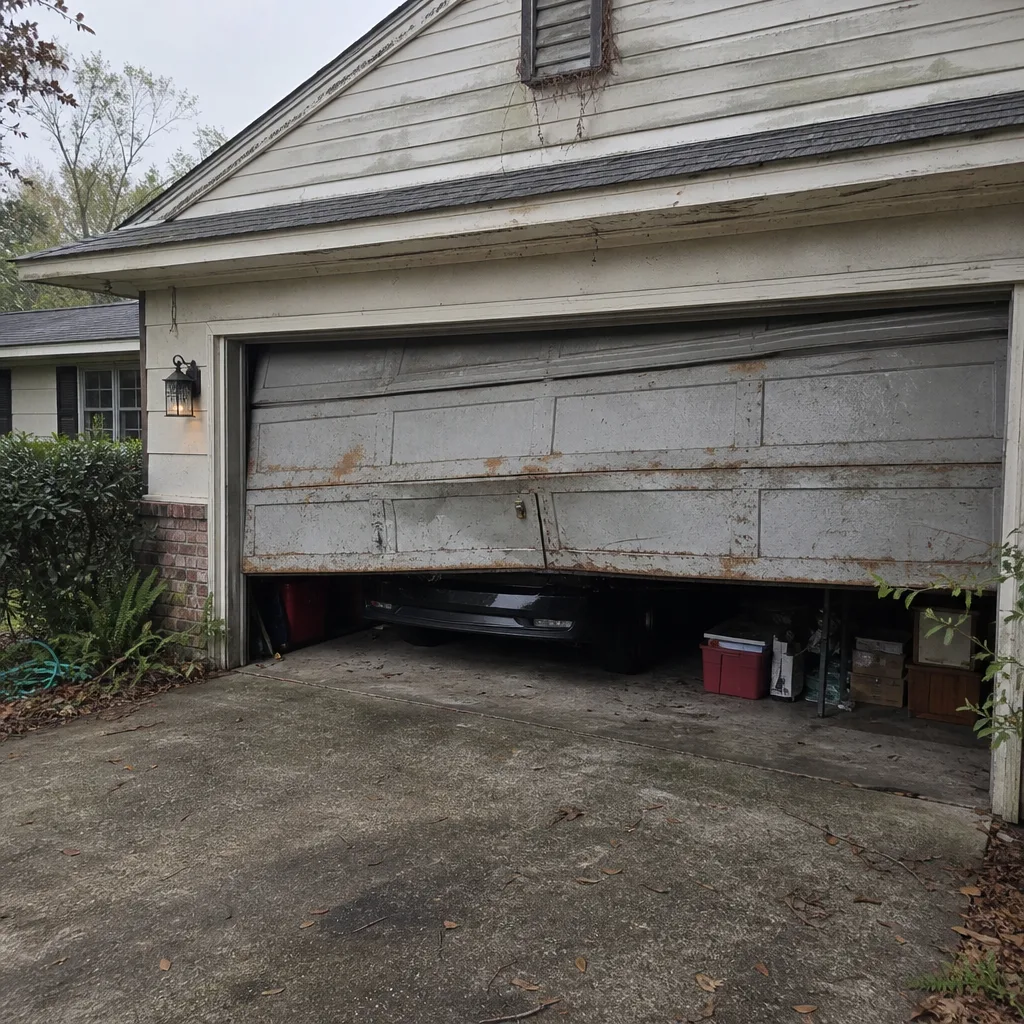
See the difference
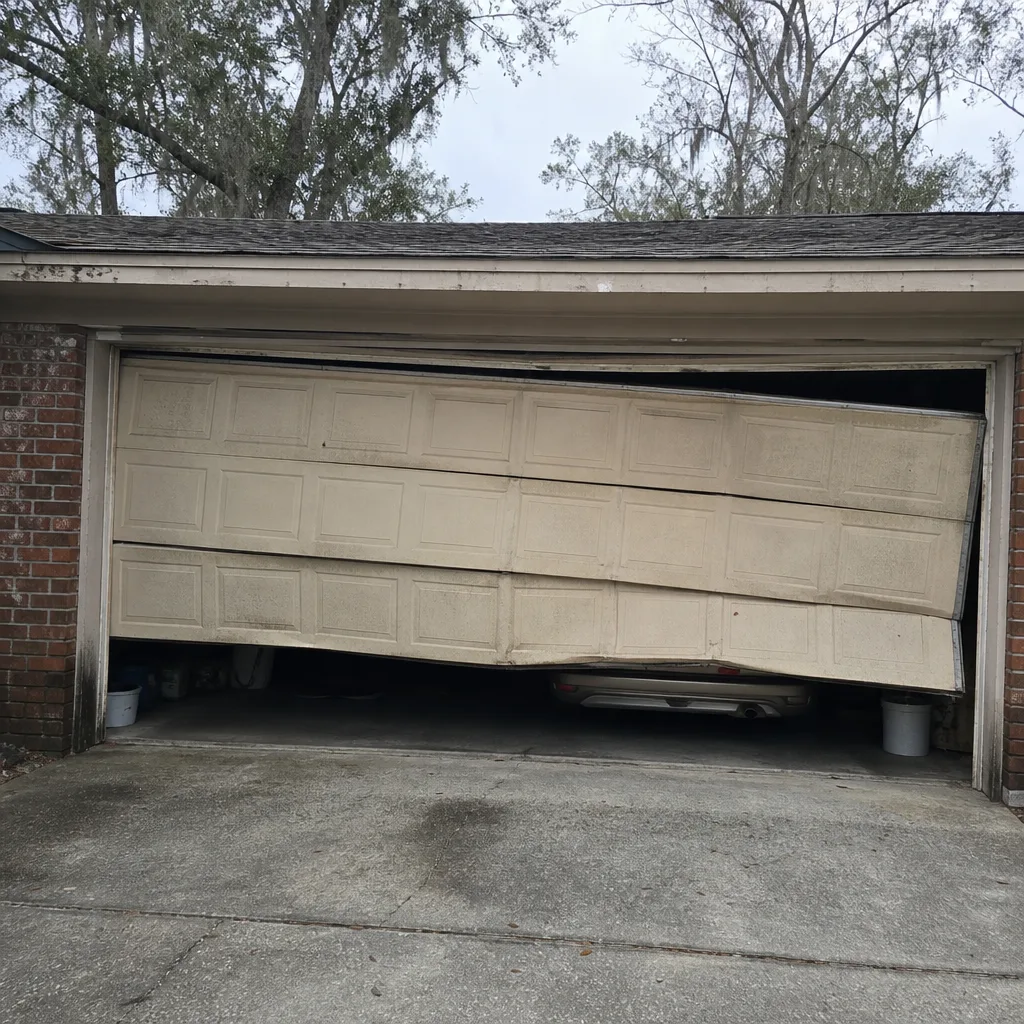 Before
 After
 Before
 After
 Before
 After