
Last updated November 21, 2026
 Raised-panel steel
 Carriage house
 Modern flush
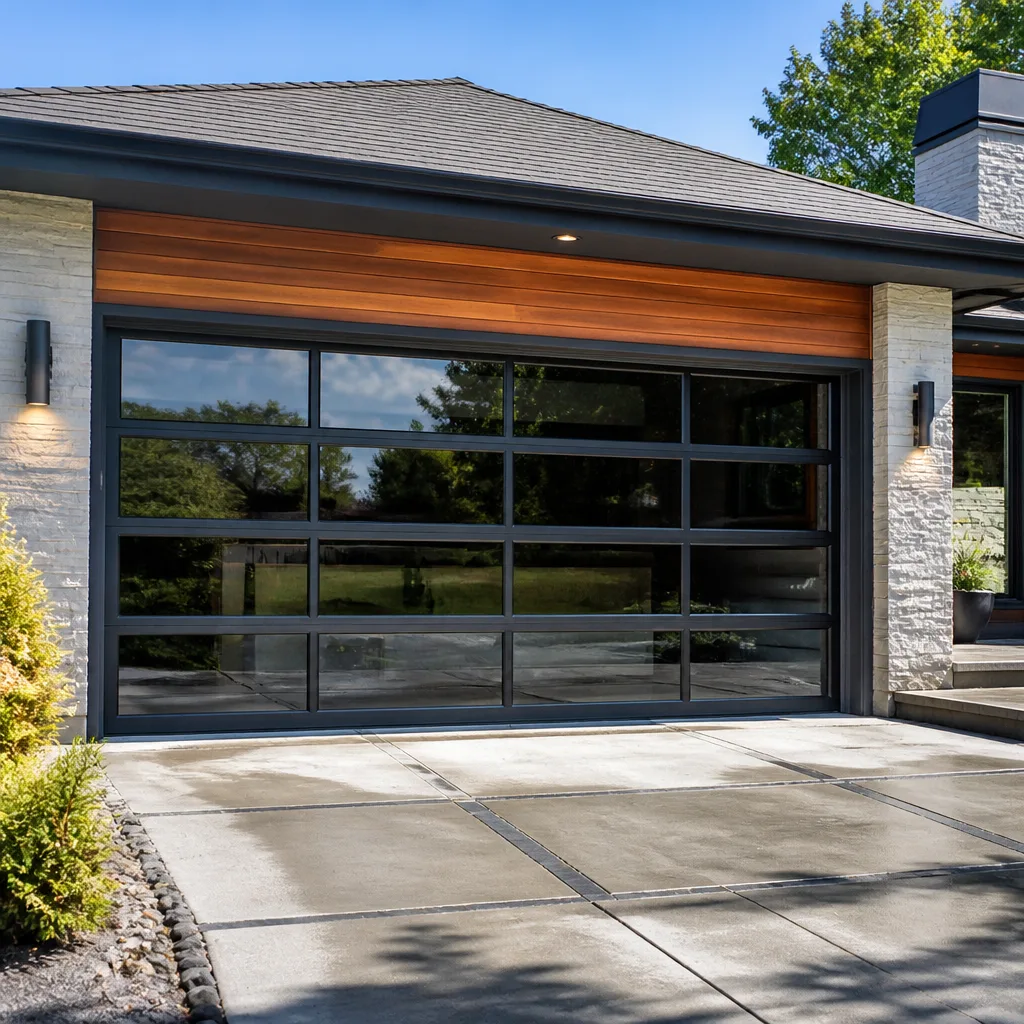 Full-view glass
 LiftMaster openers
 Chamberlain openers
Full 25-point door and opener safety check with every visit - springs, cables, rollers, tracks, and your LiftMaster or Chamberlain opener included
You get a price before we start. It does not change when the pro arrives.
Get your free estimateDIY vs Professional Garage Door: The Tallahassee Homeowner’s Decision Guide
Replacing a garage door bottom seal is a legitimate DIY job. Replacing a torsion spring is not. Not because it’s technically difficult, but because a spring wound to 150 foot-pounds of tension can release that stored energy in a fraction of a second if it slips or the wind slips a winding bar. That’s not a risk calibration, it’s physics. Most DIY-versus-hire advice treats “should I do this myself?” as a question of confidence or thrift. It isn’t. It’s a question of which tasks have a hard injury or property-risk ceiling and which don’t. This guide draws that line task by task, so you don’t pay a professional for something you can safely handle and you don’t get hurt trying to save $150. We’ll talk about Tallahassee specifically: how the climate and housing stock affect the work, what the state expects, and where the real savings live.
Quick Answer
Safe DIY garage door tasks are limited to adjustments and cosmetic work: cleaning and lubricating moving parts, replacing the bottom seal, tightening loose brackets and hinges, and checking and adjusting safety sensors. Everything involving springs, cables, torsion hardware, opener wiring to the home’s electrical system, and full panel or door replacement should be handled by a trained professional. The line isn’t about how handy you are. It’s about stored mechanical energy and electrical risk, which no amount of confidence makes safe to handle without the right tools and training.
Styles & brands we work with
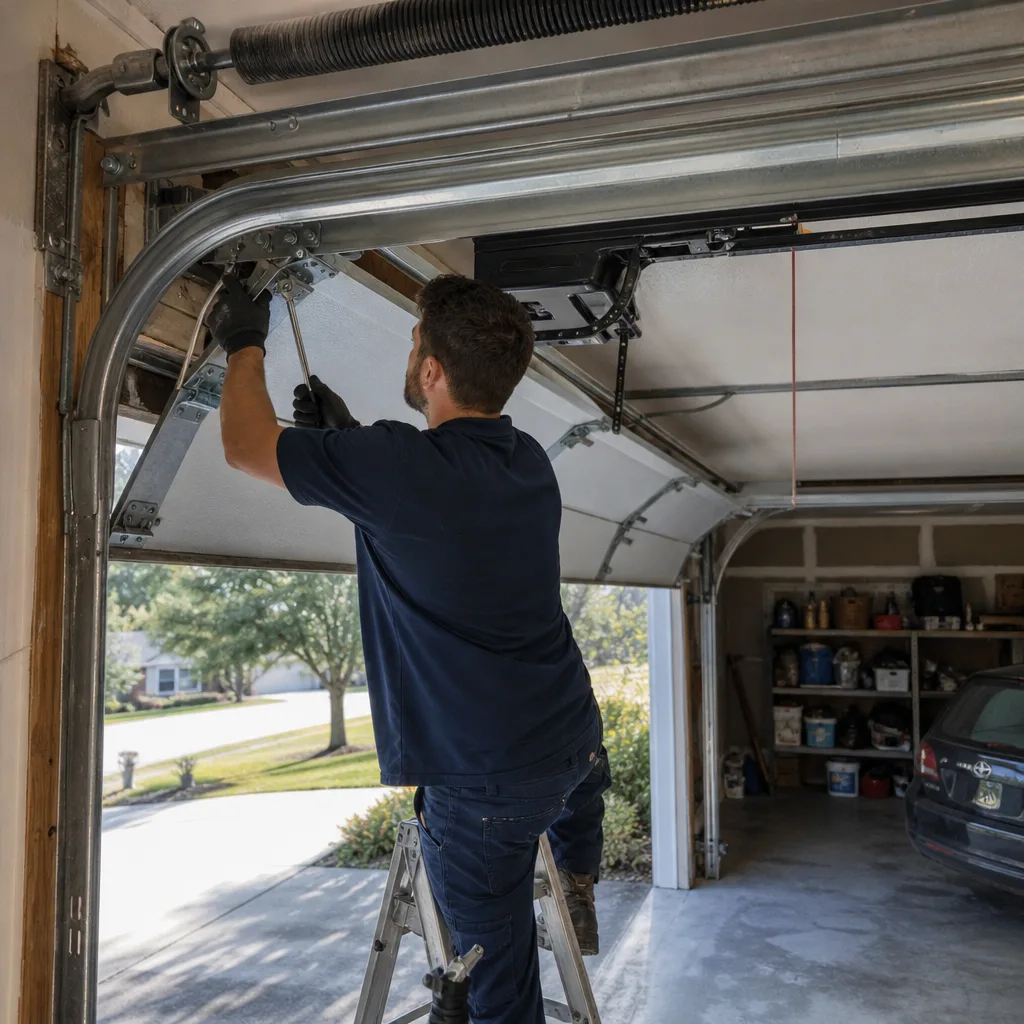
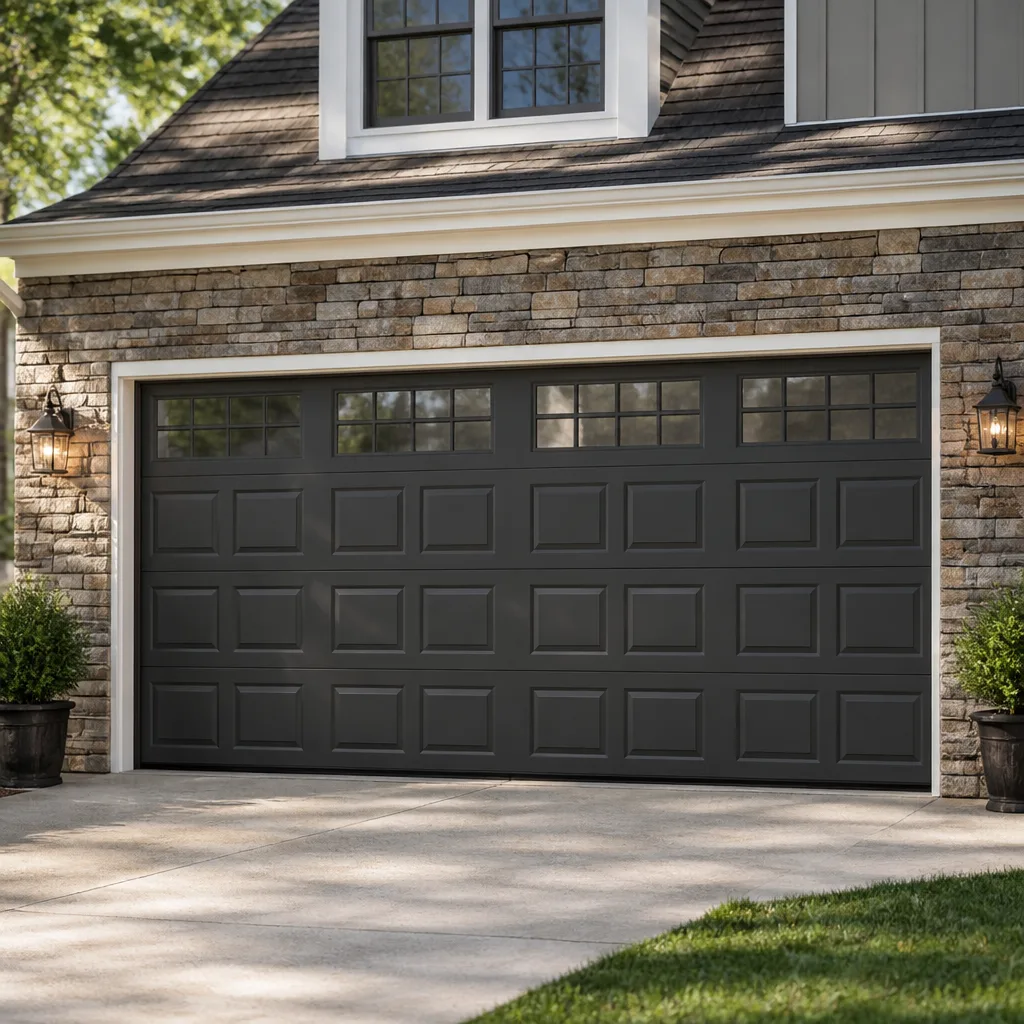
- Raised-panel steel
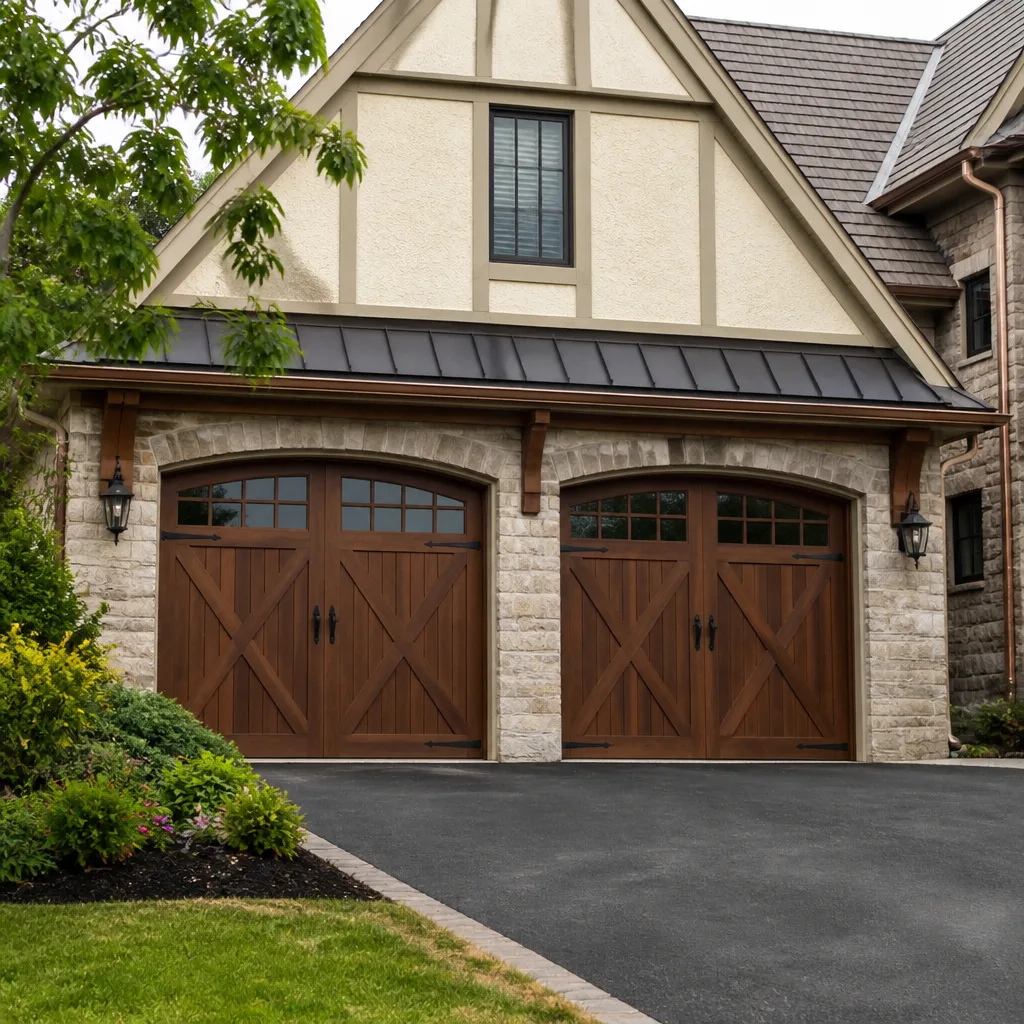
- Carriage house
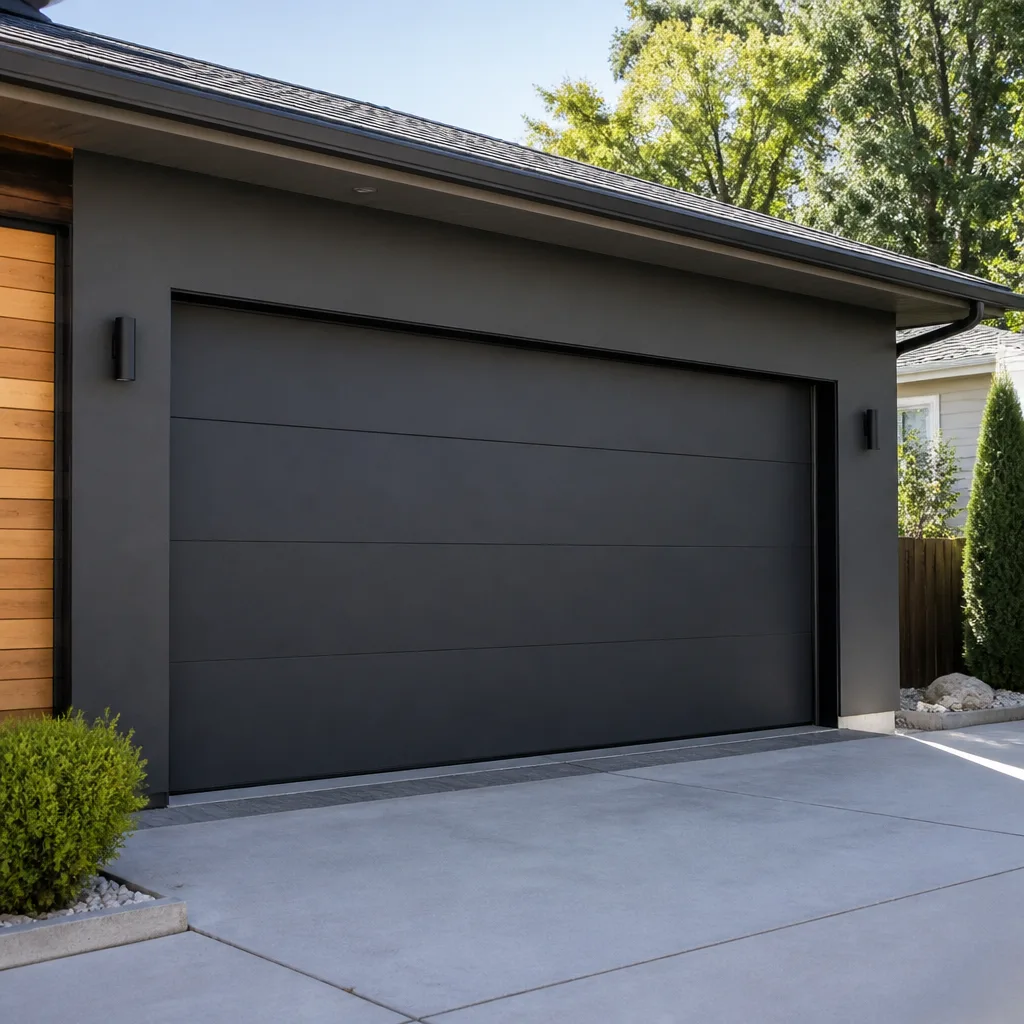
- Modern flush
- Full-view glass
- LiftMaster openers
- Chamberlain openers
Table of Contents
- Why the DIY-vs-pro Decision Isn’t About Confidence
- The Task-by-Task Breakdown: Safe, Risky, and Never
- Florida Rules: Permits, Licensing, and Insurance Coverage
- The Cost-Honest Analysis: What You Actually Save
- Does That YouTube Tutorial Even Apply to Your Door?
- The Three Most Common DIY Garage Door Injuries
- What Tallahassee Weather Does to Your Door
- Matching the Fix to the Brand You Already Own
Why the DIY-vs-pro Decision Isn’t About Confidence
A garage door is the largest moving object in a home, and it’s under tension any time the door is down. The torsion spring system at the top of the door stores energy so the door can be lifted by hand or a relatively small opener motor. When that system is suddenly unloaded, either on purpose or by accident, it snaps. The spring, the cable, and the winding bars all become projectiles. That’s the physics part, and it doesn’t care how many tutorials you’ve watched.
Here’s the more useful framing. Garage door work splits into three risk tiers, not two.
- Tier 1: Safe DIY. Cleaning, lubricating, tightening, replacing rubber seals, basic sensor maintenance. No stored-energy system involved.
- Tier 2: Technical but not dangerous. These need special tools and some training but won’t hurt you if you get it wrong. Opener programming, sensor alignment, panel and track adjustments, limit switch settings on the opener motor.
- Tier 3: Never DIY. Spring replacement, cable replacement, torsion bar work, opener electrical connections that involve the home’s wiring, structural panel replacement on a wood or steel door with damaged sections. These have real injury potential.
Most homeowners in Tallahassee who get hurt trying to save money were doing Tier 3 work with Tier 1 confidence. That’s the exact mismatch this guide is designed to prevent. If you’re already past the decision point and need urgent help, our garage door repair page covers the fastest path. If you’re planning ahead, this guide is your map.
The Task-by-Task Breakdown: Safe, Risky, and Never
This is where the guide earns its keep. Below is a task-by-task breakdown of common garage door work, sorted by whether it makes sense for a homeowner in Tallahassee to do it themselves.
Tier 1: Safe to DIY
- Replacing the bottom weather seal. A rubber or vinyl U-shaped seal that slides into the door’s bottom retainer. No tension, no cabling, no electrical. A section of seal usually runs $20 – $40 at a big-box store, and the job takes 30 minutes on most single-car doors.
- Lubricating hinges, rollers, and tracks. A few drops of garage door lubricant on each hinge pivot and roller shaft keeps the door quiet and reduces wear. Do not use heavy grease, which attracts grit in a sandy environment.
- Tightening loose bolts and brackets. The vibration of the opener loosens hardware over time. A socket wrench is all it takes. Never remove a bracket or bolt that’s under load.
- Cleaning the safety sensors. A soft cloth on the lenses at the bottom of the door tracks clears most “door won’t close” complaints. If the sensors are physically misaligned, re-aim them gently, but don’t stand in the door’s path while testing.
- Replacing opener remote batteries and re-pairing remotes. Routine work for anyone with a Chamberlain or Genie remote.
- Straightening a slightly bent track with a rubber mallet. Only when the door is fully up and the track isn’t under tension. If a track is severely bent or a roller is off-rail, stop and call.
Tier 2: Technical – Needs Tools and Training
- Adjusting the opener’s travel limits. The up and down limits on the opener motor determine how far the door travels. Get these wrong and the door drives into the header or slams down.
- Programming a new opener or remote to a Wi-Fi-enabled garage door opener. Chamberlains and LiftMasters with smart-home features can be finicky with pairing apps. Manageable with patience, but worth having a professional do if you’ve tried twice and hit a wall.
- Replacing a garage door opener. Mounting the new motor, wiring the safety sensors, and rebalancing the door to the new operator is a full afternoon’s project. Even one wrong step (like mounting the safety beam too high) is a code and safety issue in most jurisdictions.
- Adjusting a wood door that has swollen or warped in humidity. Tallahassee’s summer humidity can bind wood garage doors in the frame. A quick adjustment with respect for the panel weight is fine; anything that requires loosening hinges or moving panels goes to a pro.
Tier 3: Never DIY – The Hard No
- Torsion spring replacement. The spring above the door is under constant tension. Winding or unwinding one with a winding bar is a two-person job with training, and it’s where the worst garage door injuries happen. We can’t recommend any homeowner attempt this, and we can’t describe the winding procedure safely. If you suspect a broken spring, keep the door closed and call.
- Extension spring replacement. Similar tension risk, and often worse if the cables are aged. Every spring replacement is a Tier 3 job.
- Cable and drum work. Cables and drums work together with the springs. Loosening a drum under tension releases the same stored energy. Never attempt.
- Removing or replacing a bottom bracket. The bottom bracket holds the cable against the tension of the spring. If the cable is under tension and the bracket is removed, the cable can snap free.
- Wiring a new opener to the home’s electrical panel. A garage door opener needs a dedicated outlet, but if the job requires new wiring or a new circuit, hire a licensed electrician. Do not attempt electrical work in your panel.
If you’re looking at that third tier and thinking “that’s more than I can handle,” you’re in good company. Most homeowners don’t need a specialist for seal replacement. They do need one for garage door repair Tallahassee Pros when the tension-bearing parts are involved. That’s the honest split.
Florida Rules: Permits, Licensing, and Insurance Coverage
Florida doesn’t have a single statewide rule that says every garage door repair requires a permit. But homeowners in Tallahassee need to check three things before deciding to DIY a big job: what the city of Tallahassee’s building department requires for a replacement or new installation, what a homeowner’s insurance policy says about work performed by the homeowner, and what your HOA covenants say about changes to your garage door.
1. Permits and the City Building Department
Full garage door replacement, changes to the structural opening, and new electrical circuits installed for the opener may require a permit through your city or county’s building department. The exact scope depends on your property and the local code office, so call Leon County or the City of Tallahassee’s building department directly and ask. The rule of thumb: a permit is much more likely to be required for a new door installation than for a spring repair, but the only reliable answer comes from the jurisdiction.
2. Contractor Licensing
Florida requires contractors to be licensed for the scope of work they perform. In most of Florida, the two relevant license categories for garage door work are a specialty contractor license and a general contractor license. Neither applies to a handyman or unlicensed side work, and a homeowner’s claim on a warrantied door or opener can be denied if the work wasn’t done by a licensed professional. When you hire anyone to do Tier 2 or Tier 3 work, ask for the contractor’s license information before agreeing to the job. A vetted local professional will show it to you without hesitation.
3. Homeowner’s Insurance
A homeowner’s policy may exclude damage caused by work you performed yourself, or damage from faulty workmanship. Most policies do cover structural failures from aging, weather events, or a covered peril. If you personally install something wrong and the door fails, that’s usually a policy problem. Hiring a licensed professional generally keeps the homeowner out of the middle. Ask your insurer if a particular project raises questions before you start.
4. Manufacturer Warranty
Garage door manufacturers like Clopay and Amarr provide warranties on panels and hardware that typically require professional installation or repair to stay valid. If your door is under warranty, doing the work yourself can void the coverage. Read the warranty terms on your door’s serial label before removing any panel or hardware.
Our garage door installation page has more on the installation-specific permit question. If you’re replacing rather than repairing, start there.
The Cost-Honest Analysis: What You Actually Save
Most “DIY saves money” advice ignores the three things that eat the savings: tools, time, and the probability of a callback repair. Here’s what the numbers actually look like.
What DIY Actually Saves You On Tier 1 Tasks
- Bottom seal replacement. The seal itself is $20 – $40 for a standard single-car door. A professional repair typically runs $150 – $250 for the same job, including materials. Real savings for a homeowner doing this themselves: roughly $110 – $210.
- Lubrication and hardware tightening. Essentially free if you own a socket wrench and a can of garage door lubricant. A professional tune-up typically runs $80 – $150 in the Tallahassee market. Real savings: close to the full amount.
- Sensor cleaning or re-aiming. Free. No professional call needed.
- Remote battery and accessory pairing. Free.
What DIY Actually Costs You On Tier 2 Tasks
This is where the math turns. Adjusting opener travel limits yourself takes maybe 20 minutes, but a wrong adjustment can result in a door that won’t close, a door that slams, or a door that puts excess strain on the opener motor and shortens its life. Opener replacement itself is where the math really breaks: the unit costs the same whether you or a professional installs it, and the labor usually runs $200 – $400. Trying to save that labor and installing wrong typically costs more in a callback than the original labor quote.
What DIY Costs You On Tier 3 Tasks
This is not a dollar comparison. A torsion spring repair by a professional in Tallahassee typically runs $180 – $340 for a single spring, and a matched pair is usually replaced together, so a pair costs about twice that range. A homeowner attempting to wind a spring themselves who gets hurt ends up with a hospital bill and a non-functional door. The math is not close.
What a Callback Actually Costs
This is the piece most DIY advice ignores. Even a well-executed DIY job sometimes needs a callback: a seal that slides out of the retainer because it was the wrong gauge, a sensor that misaligns after a month, a track adjustment that goes back out of true. When you do the job yourself, you pay the full repair bill on the callback without the original cost already absorbed. When a professional does the job and something goes wrong, the callback is typically covered by the original estimate or by a satisfaction guarantee. That safety net is worth something.
Does That YouTube Tutorial Even Apply to Your Door?
Here’s the thing almost no DIY tutorial mentions: garage doors vary enormously by brand, generation, and hardware configuration. A tutorial filmed on a 2008 LiftMaster with belt-drive opener and extension springs will mislead a homeowner with a 2019 Chamberlain with a torsion system and Wi-Fi opener. Before following any tutorial on your garage door, run through this checklist.
- Identify the door brand. Most door panels have a label inside the frame or on the back of the door with the manufacturer name, model, and installation year. Clopay, Amarr, Wayne Dalton, and Raynor are the brands we see most often in Tallahassee homes, and each has its own panel system and retainer geometry.
- Identify the opener brand and model. The opener motor on the ceiling has a label with the make and model year. LiftMaster, Chamberlain, Genie, and Craftsman covers most residential openers in Tallahassee. Each brand programs differently, pairs remotes differently, and uses different travel limit procedures.
- Identify the spring system. Look at the top of the door before you start anything. A single horizontal torsion spring above the door is a torsion system. Two vertical springs along the door tracks are extension springs. The procedures are completely different and not interchangeable.
- Confirm the tutorial matches your exact configuration. Spring count, spring wind direction, door weight, door material (steel, wood, aluminum), and panel width all affect the safe procedure. If any of those differ from the tutorial, it doesn’t apply to your door.
- Check whether your model has smart features. A Chamberlain MyQ opener will have a very different pairing and programming procedure than an older chain-drive Craftsman unit. If your opener has a Wi-Fi module or an app, don’t follow mechanical-only tutorials.
- Confirm the tutorial’s era matches your hardware. A tutorial for a door installed before about 2010 will often reference hardware that has since been updated. Safety reverse sensors in particular have gone through updates and the older adjustment procedures can be wrong for a newer sensor.
If you can’t answer any of those steps confidently, that tutorial isn’t for your door. If your opener is a Chamberlain, LiftMaster, or Genie and you want a fast answer on repair versus replacement, our garage door opener repair page is a good place to start the conversation.
The Three Most Common DIY Garage Door Injuries
We’re not going to invent statistics. But we can tell you the three injury types that come up most often for homeowners attempting garage door work on their own, and the tasks that cause them.
1. Hand and Forearm Injuries from Spring Winding
This is the most serious category and it’s tied to one task: torsion spring winding and unwinding. The winding bar slips out of the winding cone under load, or a homeowner uses pliers or a screwdriver instead of a purpose-made winding bar. The spring releases stored energy and the bar or tool swings into the hand or forearm. In Tallahassee, this tends to happen with older doors where the springs have already weakened and the tension isn’t easily judged by feel. Every spring repair by a professional is done with two winding bars, gloves, and a spotter.
2. Fingers Pinched or Crushed Between Door Panels
The most common injury, associated with panel adjustment, hinge replacement, and driving on the wrong side of a closing door. Fingers get between the door panels or between a panel and a track during a test close. If the door has a faulty safety sensor or a misadjusted travel limit, the pinch is worse. Always keep hands away from any panel gap, always keep children and pets out of the garage during testing, and always check that safety sensors are working before closing the door under power.
3. Back Strain from Attempting to Lift or Hold a Door
Tied to broken-spring situations. When a spring breaks, the door is heavy – a single-car steel door can weigh 130 – 180 pounds, and a double-car door often runs 200 – 300 pounds. Homeowners trying to lift or hold the door open with a broken spring can injure their back or shoulder. A door with a broken spring should be treated like any other mechanical failure: keep it closed, don’t force it, and call for professional help.
Every one of these injuries comes from Tier 3 work. None comes from safe Tier 1 tasks. That’s the whole argument, and it’s why the risk-tier framing is more useful than the “do it yourself versus hire it out” binary.
What Tallahassee Weather Does to Your Door
Tallahassee’s mild winters don’t stress a garage door much. What does stress it is the combination of warm-season humidity, frequent heavy rain during the summer and early fall, and the routine presence of pine pollen and fine grit that settles into tracks and hinge pivots. Three things tend to happen to Tallahassee garage doors as the seasons cycle, and they’re worth knowing whether you DIY or hire out.
- Wood door swelling and sticking. Tallahassee homes with older wood garage doors see the panel bind in the frame during the wettest months, then release in the drier fall. If the door sometimes needs a nudge or the opener motor works harder to lift it, the door is binding. A pro can adjust the frame and the operator together; a homeowner meddling with the panel hardware quickly loses the balance.
- Track and roller contamination. Pine pollen and grit clogs roller bearings and causes the door to run rough and loud. Lubrication clears most of it, but if a roller has already been damaged by grit, it needs replacement. This is a safe DIY job for cleaning and a fine job for a pro for replacement.
- Sensor misalignment from ground settling. Tallahassee’s soil and frequent rain expand and contract, and the garage floor and track can shift slightly. A door that “worked last summer” and now won’t close often has misaligned safety sensors – a safe DIY fix if the sensors just need cleaning and re-aiming, and a call to a professional if the track or sensor mounts have physically shifted.
One note on storms: hail is uncommon in Tallahassee, so door damage from hail isn’t the local concern it is in other regions. What we see more often is impact damage from flying debris during summer storms. Impact damage that dents or dings a steel panel is often cosmetic; damage that bends a track, cracks a panel, or misaligns the door is not.
Matching the Fix to the Brand You Already Own
Different brands ask for different answers. We service systems from LiftMaster, Chamberlain, Genie, Clopay, Amarr, Wayne Dalton, Craftsman, and Raynor, and the right approach for a LiftMaster opener is not the right approach for a Genie. That matters for the DIY decision too, because generic tutorials and generic tools rarely line up cleanly with either brand.
Opener-Side Work
LiftMaster and Chamberlain share a lot of mechanical design underneath – same parent company, similar motor designs, similar travel limit procedures, similar MyQ smart-home integration. Genie and Craftsman each have their own programming and remote-pairing procedures and their own parts ecosystem. If you’re DIYing opener adjustments, verify which family your opener belongs to before you start.
Door-Side Work
Clopay and Amarr are two of the most common panel brands on residential homes in Tallahassee. Panel replacement, retainer sizing, and seal fit vary by door manufacturer. A bottom seal that fits a Clopay retainer usually doesn’t fit an Amarr or Wayne Dalton retainer. Read the label on the door before you buy a seal – it saves the trip back to the store.
When the Brand Matters Most
Opener replacement is where the brand question has the biggest financial consequences. A homeowner replacing a LiftMaster with a Genie faces a learning curve on the new programming. A homeowner replacing a Chamberlain with another Chamberlain can reuse much of the existing setup. Matching your existing brand often minimizes installation cost and keeps your remotes working without replacement.
Our technicians have up to 14 years of experience across these systems. That matters most on the jobs where DIY is the wrong call. For the rest, use the brand as your filter for whether a tutorial applies.
See the difference
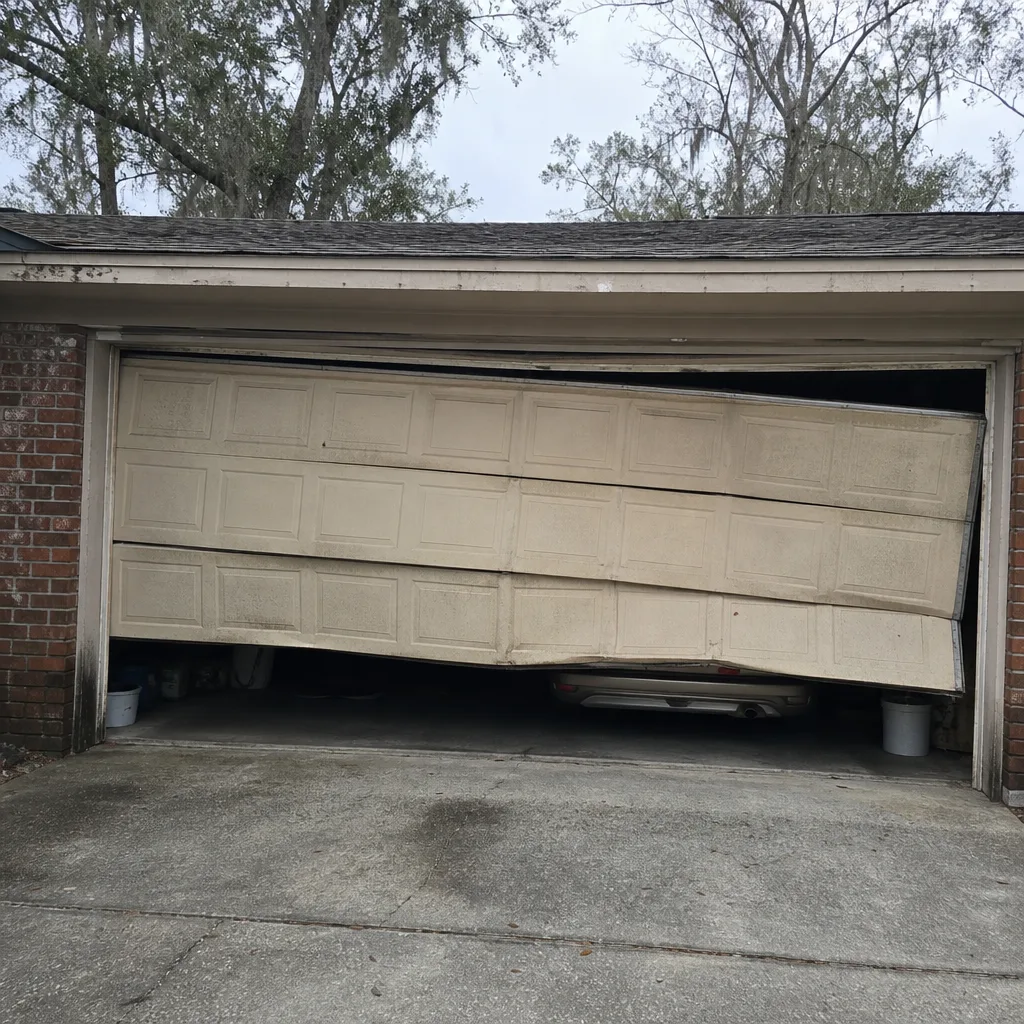 Before
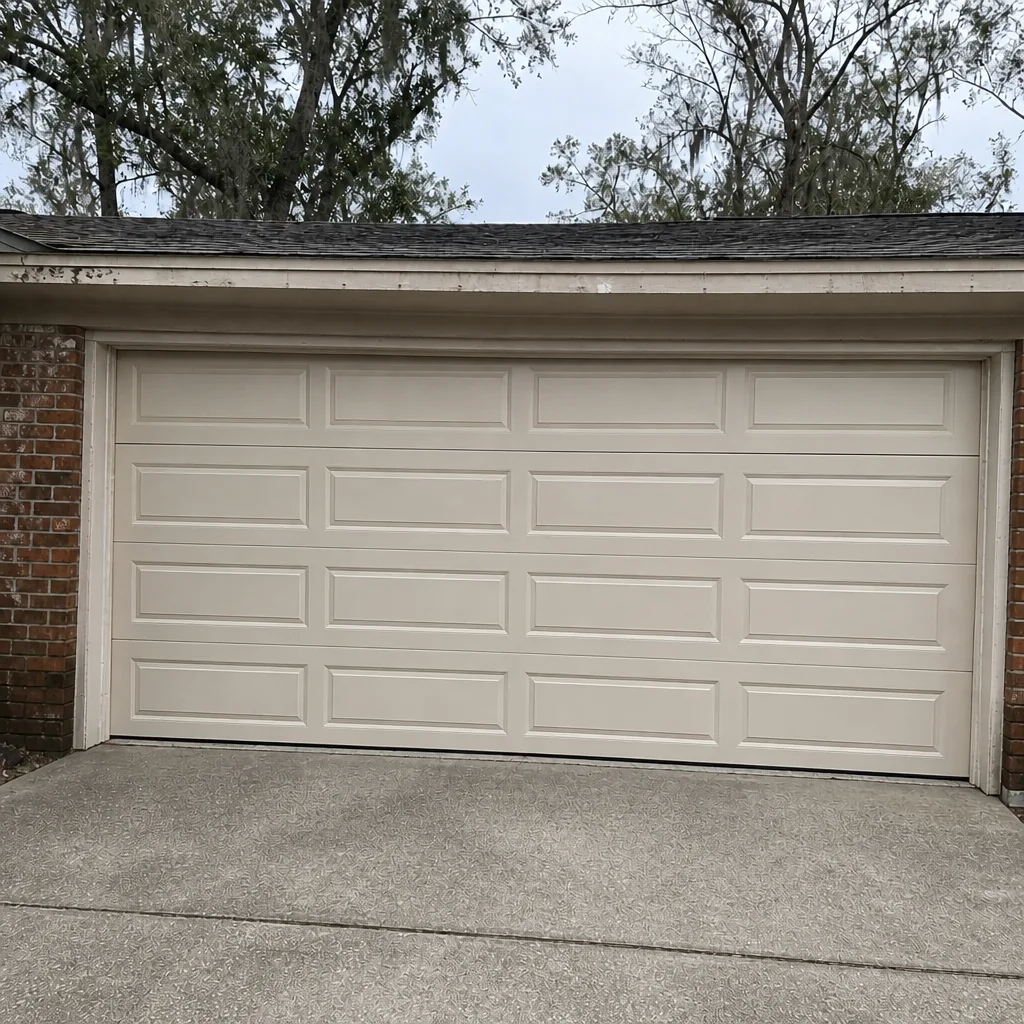 After
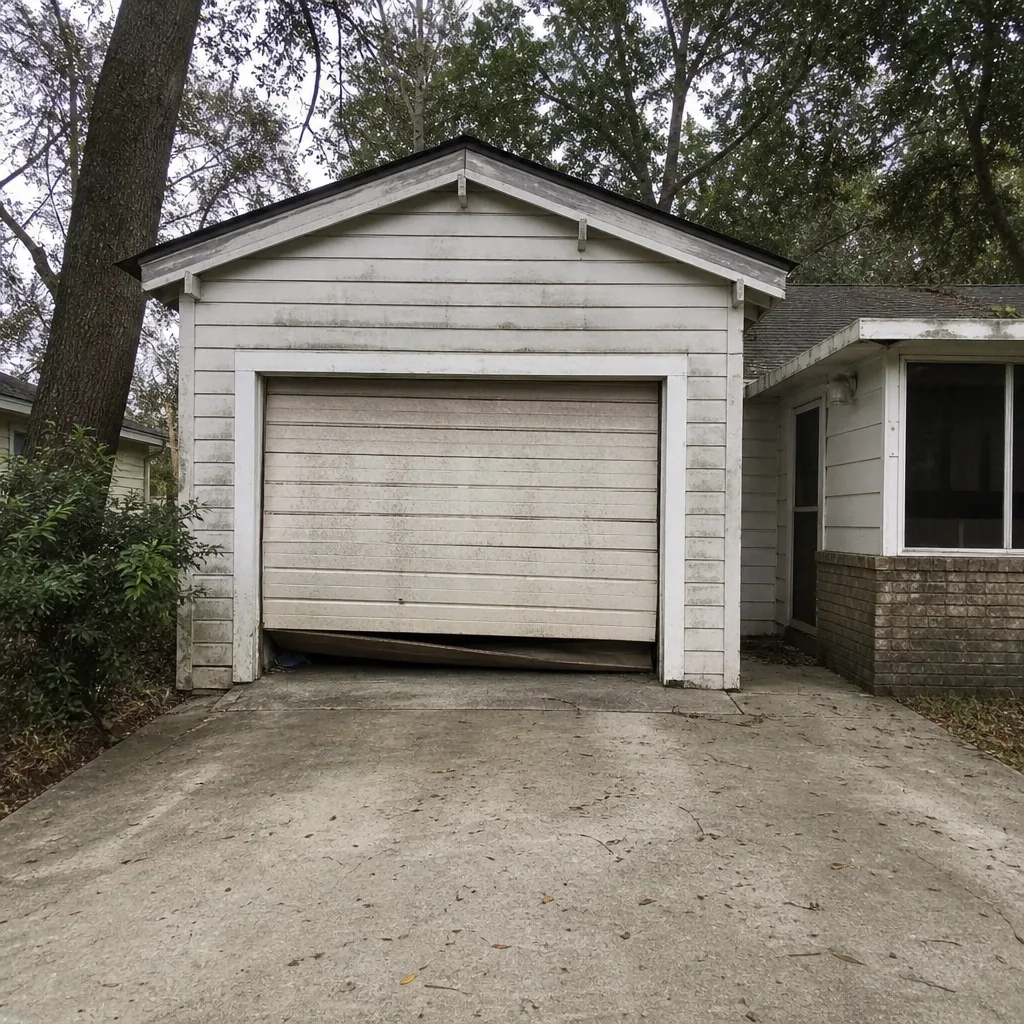 Before
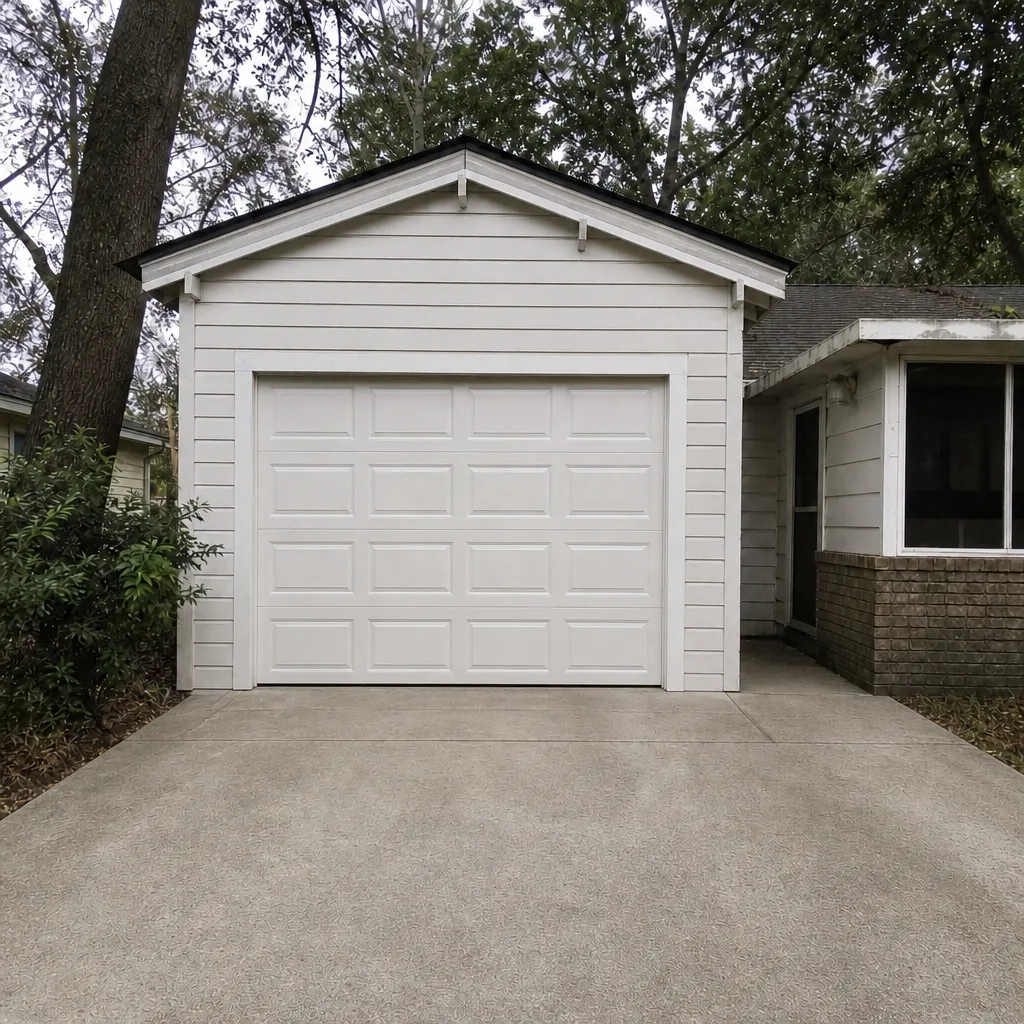 After
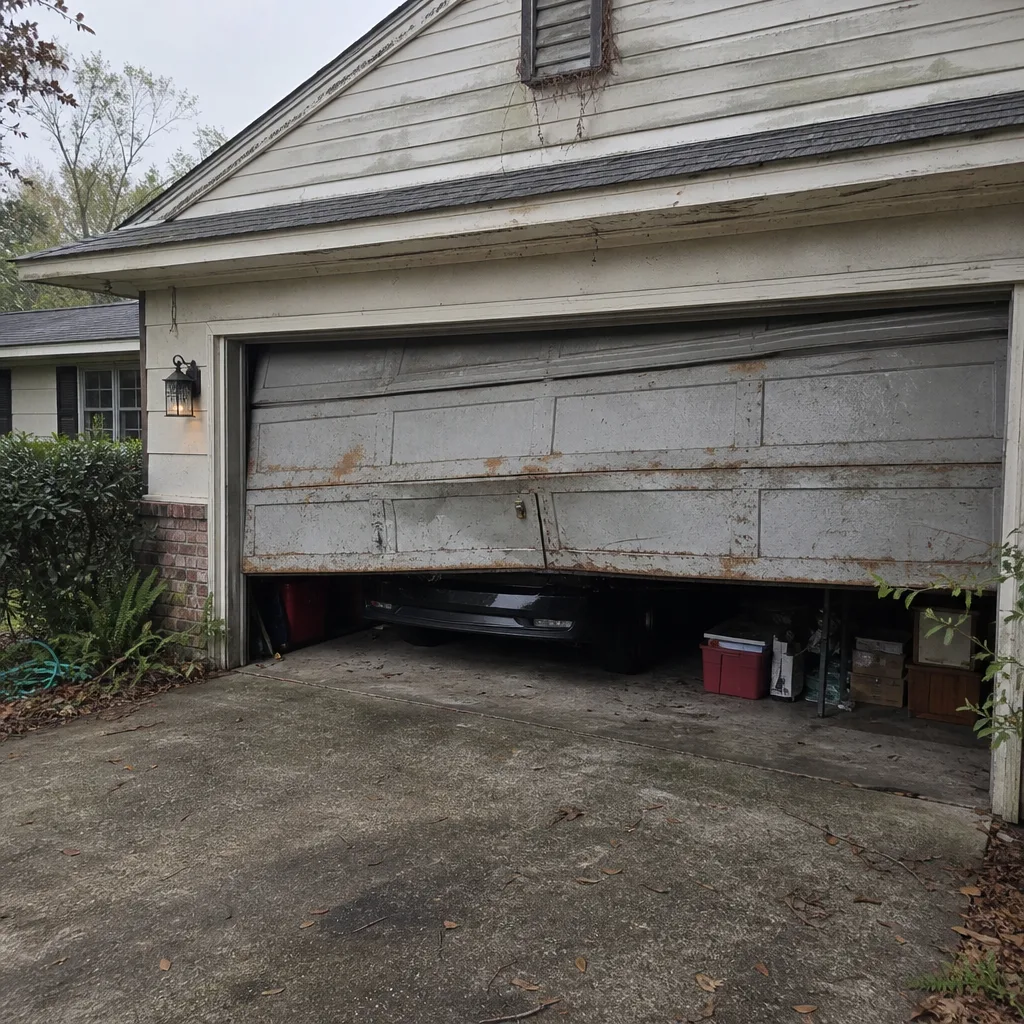 Before
 After
Common Mistakes to Avoid
- Treating every “fix” as one category. Most homeowners get hurt because they think of garage door repair as one skill. It isn’t. The seal is a different animal from the spring. Sort the task first.
- Using WD-40 on hinges and tracks. WD-40 is a light solvent, not a long-term garage door lubricant. It cleans but doesn’t protect, and it attracts grit in a humid Tallahassee garage. Use a purpose-made garage door lubricant instead.
- Ignoring a broken spring before the door has fully failed. A spring that has visibly cracked but not yet fully snapped is still storing energy. If you see a gap in the spring windings, don’t close or test the door, and don’t try to replace the spring yourself.
- Adjusting travel limits until the door “looks right.” The opener’s up and down limits control where the door stops. Test with the emergency release and a hand under the door every time, and check that the safety reverse still trips when it contacts an object. Never assume a visual adjustment is correct without a physical reverse test.
- Replacing a panel without checking the panel weight against the spring balance. A steel panel of the same dimensions may have a different weight than the panel it replaced. A door that isn’t balanced to the new panel puts added strain on the opener and the springs. Weight matters.
- Removing the emergency release cord to avoid accidental releases. The release cord is what gets the door open to a vehicle if the opener fails. Removing it looks convenient until you’re stuck with a car inside and a dead opener.
- Ignoring Florida insurance and warranty implications before starting work. Read your homeowner’s policy and your door’s warranty before doing any Tier 2 or Tier 3 work. The manufacturing warranty on panels and hardware is often voided by homeowner installation, and policy claims are sometimes denied if a failure traces back to a homeowner modification.
When to Call a Professional
Call a professional when the work falls into Tier 3: any spring replacement, any cable or drum work, any bottom bracket work, or any job that requires moving the door under tension. Call us when you’re not sure which tier a job belongs to. And call when the brand question matters: a LiftMaster with smart-home features, an older Chamberlain with a failing opener motor, or an Amarr door with a panel that’s begun to fail. Call as well when the door is off-track, when the opener motor is smoking or running continuously, or when the door won’t open and a vehicle is stuck inside.
Garage Door Repair Tallahassee Pros offers free estimates in Tallahassee – call (855) 789-6528. We answer 24/7. Fast dispatch from 7am to 7pm, Sunday through Friday, and we’re closed Saturday. Every price is quoted and agreed before any work starts. Emergency garage door service is built into our core lineup, not an add-on, and our technicians work on the brand you already have rather than pushing one product line.
Frequently Asked Questions
No. Torsion and extension springs are both under load that can cause serious injury if the winding slips. Keep the door closed, don’t force it, and call a professional. Spring repair typically runs $180 – $340 for a single spring in the Tallahassee market, and a matched pair is usually replaced together, so a pair costs about twice that range. Call (855) 789-6528 for an exact quote; estimates are free.
Safe DIY work is limited to cleaning and lubricating hinges and tracks, replacing the bottom weather seal, tightening loose brackets and hinges, cleaning or re-aiming safety sensors, and replacing remote batteries or re-pairing remotes. Anything involving springs, cables, drums, torsion hardware, or new electrical wiring to the home is not a safe DIY job. If you’re not sure which side of the line your job falls on, that’s a sign it belongs to a professional.
No, not if the job matches the description. We quote the job upfront, the written estimate sets the price, and the price is agreed before any work starts. If we find a related issue that changes the scope – a second spring that also needs replacement, or a track that’s bent beyond simple adjustment – we stop and quote the new scope before proceeding. You’ll never be surprised by the invoice.
For repairs, usually no – but for a full replacement or a new installation, the answer depends on your local building department. Call the City of Tallahassee or Leon County building department directly and ask about your specific project. The permit question is one of the reasons a full door replacement is generally best handled by a licensed contractor.
Your policy may exclude damage caused by homeowner workmanship or by parts that fail after a homeowner installation. Most policies cover damage from weather events or normal wear. Ask your insurance agent before starting any Tier 2 or Tier 3 job, and check your door’s warranty too – most manufacturing warranties on panels and hardware require professional work to stay valid.
When we connect you with a local professional, that professional is licensed and insured as the state requires. Ask for license information up front any time you hire someone for garage door work, and don’t accept work from anyone unwilling to share it. If your job is a repair rather than a replacement, call (855) 789-6528 to get an exact estimate before work starts.
The Bottom Line
The DIY-versus-hire decision comes down to which tier of work you’re doing. Tier 1 – lubrication, seal replacement, sensor cleaning, loose bolts, and remote set-up – is worth doing yourself and can save you $100 – $200 on a typical job. Tier 2 – opener adjustments and full opener replacement – is doable but usually costs more in callbacks than it saves in labor. Tier 3 – spring, cable, drum, and electrical work – is never worth the risk, and the injury consequences are real. If your work touches the mass of the door, the stored energy in the spring, or the electrical system of the house, it belongs to a professional. If it touches the seal, the sensors, or the lubrication points, it’s yours for the taking.
For everything in Tier 3 in Tallahassee, Garage Door Repair Tallahassee Pros is ready to help. Call (855) 789-6528 for a free estimate. We answer 24/7. Fast dispatch from 7am to 7pm, Sunday through Friday, closed Saturday.
Written by the team at Garage Door Repair Tallahassee Pros.